| 🎯 What’s the goal? Optimize your website performance so it loads faster. | ⚠️ Why does it matter? Fast loading time improves user experience and is a ranking factor. |
| 🏁 What’s the result? Your website loading times and performance improved. | ⌚ When do you do this? Whenever your page load times are too high. |
| ✅ Any special requirements? This SOP only applies to WordPress Sites. | 🙋♂️Who should do it? The person responsible for managing your website. |
⏳ How long will this take? about 30 minutes
Let’s turbocharge the performance of your website!

Environment setup:
- We recommend that you use Google Chrome browser to navigate the web,
- Administrator Access to your WordPress Blog.
This SOP tries to cover the best settings that would work for most websites, but compatibility with every possible website/server setup can’t be achieved. If you’re having trouble setting up your cache plugin contact your web developer or hosting company
Optimize your website by caching with W3 Total Cache Plugin
W3 Total Cache will speed up your website with caching, minify and CDN support.
- First, go to your WordPress Admin panel (yourwebsitedomain/wp-admin).
- If you are not logged in automatically, simply log-in as an Administrator:

- In the menu on the left side, select “Plugins”, then “Add new”.

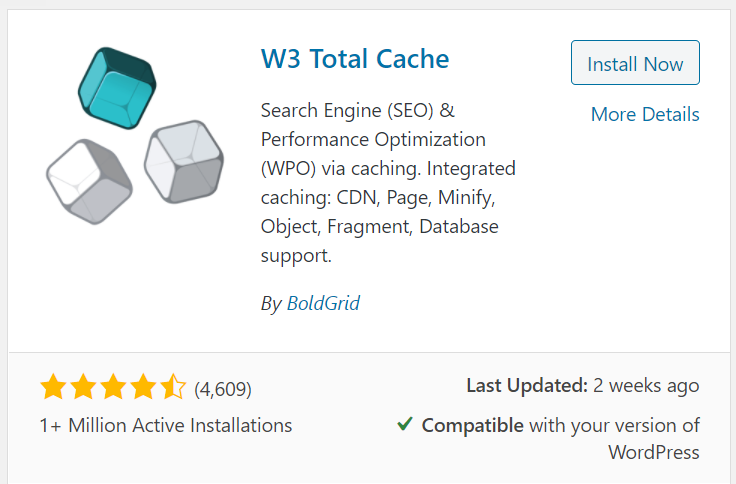
- Type in “W3 total cache” in the search box.

- You should see the “W3 Total Cache” plugin by BoldGrid in the search results.
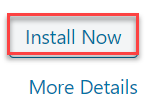
- Click on “Install Now”.
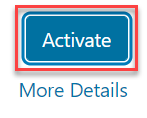
- Then on “Activate”.
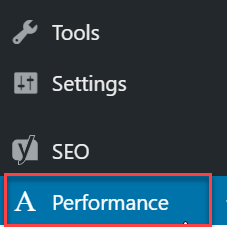
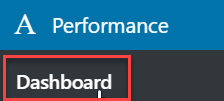
- Now choose “Performance” form the left side menu of your WordPress Admin Panel.
- Choose the “Dashboard”.
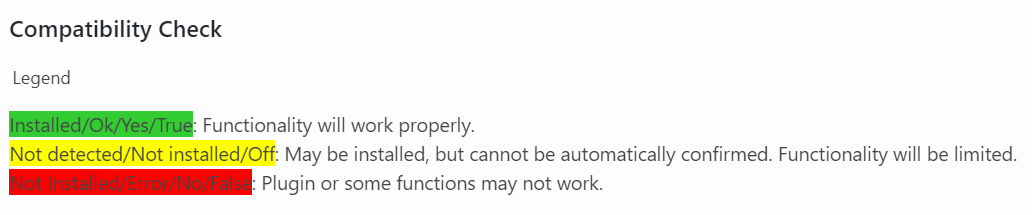
- Click on “compatibility check”.

- By viewing the result you will be able to determine which features of the plugin will be compatible with your website.
- Now go to “General Settings” of the Plugin.

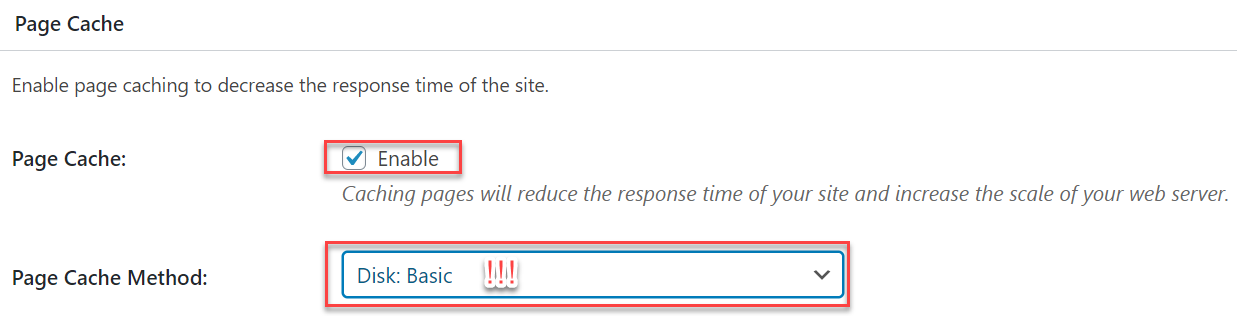
- In the “Page Cache” section choose “Enable” and “Disk: Basic”. You can set “Disk: Enhanced” of your compatibility report from the previous step provided you with information that your site is compatible with this feature.
- In the “Minify” section, choose “Enable”, Minify mode to “Auto”, Minify Cache Method to “Disk” and rest of the setting as “default”.

- In the “Database Cache” section, choose “Enable”
Then set “Database Cache Method” to “Disk”.
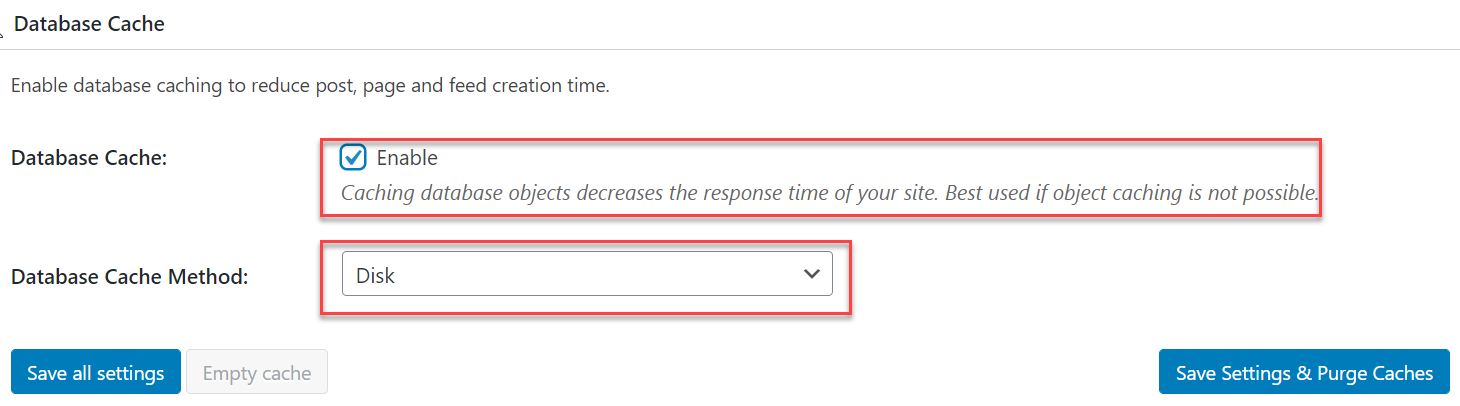
- Finally, click on “Save Settings & Purge Cache”.

Optimize your website by caching with Autoptimize Plugin
- First, go to your WordPress Admin panel (yourwebsitedomain/wp-admin).
- If you are not logged in automatically, simply log-in as an Administrator:
- In the menu on the left side, select “Plugins”, then “Add new”.
- Type in “Autoptimize” in the search box.

- You should see “Autoptimize” Plugin by Frank Goossens in the search results.

- Click on “Install Now”.

- Then on “Activate”.

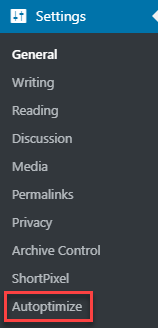
- You should see that “Autoptimize” option appeared on the left side menu, under “Settings”. Click on it.
- First, move to “JS, CSS & HTML” tab.

- Check box next to “Optimize JavaScript Code?”.

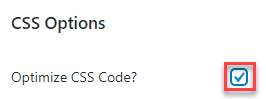
- Allow CSS optimisation by checking the box next to the “Optimize CSS Code?”.
- Check all the boxes beneath the “Misc Options” section.

- Click on “Save Changes and Empty Cache”.

Optimize your website with Swift Performance Lite Plugin
- First, go to your WordPress Admin panel (yourwebsitedomain/wp-admin).
- If you are not logged in automatically, simply log-in as an Administrator:
- In the menu on the left side, select “Plugins”, then “Add new”.
- Type in “swift performance” in the search box.

- You should see “Swift Performance Lite” plugin by SWTE in the search results.
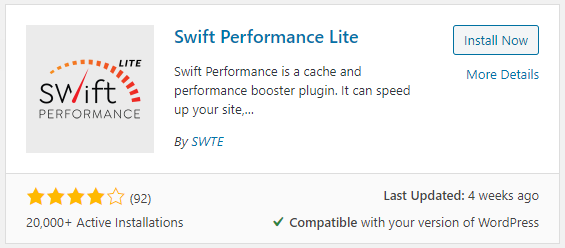
- Click on “Install Now”.

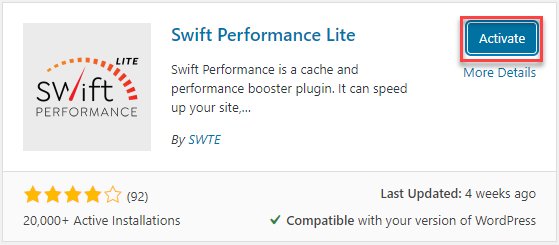
- Then on “Activate”.
Swift Performance will occasionally present you with a paid option features.
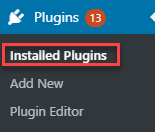
- Click on “Installed Plugins” underneath the “Plugins” section from the left side menu.
- Find Swift Performance Lite Plugin on your list and click on “Settings”.

- On the Plugin’s screen choose the “Settings” tab.

- Click on the “Optimization” section.
- Then, on “General”.

- Activate the slider next to “Minify HTML” option.

- Now move to the “Catching” section.

- Choose “General”.

- Set the slider on next to the “Enable Caching” option.

- Set Catching Mode to “Disk Cache with PHP”.

- Set the slider to on position next to the “Early Loader” option.

- You should leave the last three settings unchanged.
- Click on “Save Changes”.

Optimize your website using WP Rocket
WP Rocket is a premium cache plugin for WordPress. WordPress experts recognize it as the most powerful caching tool. Thanks to its wide range of options and automatic optimization features, it can be easily used by experienced WordPress users as well as beginners.
Unfortunately, WP Rocket is a paid-only plugin. There are no free versions of it but it is considered as the best solution. Visit WP Rocket website and decide if you want to use it.
Open your website, navigate through your core pages and make sure everything is still functional. If parts of your website is no longer working, you can revert the changes you made by disabling the whole plugin.
But for now, you should run again the SOP036: “Check your website loading time”
You should already see an improvement in your overall score.