| 🎯 What’s the goal? Outsource High-quality content at scale while staying cost efficient. | ⚠️ Why does it matter? Outsourcing content creation can allow you to deliver an increased number of quality content without growing your headcount. |
| 🏁 What’s the result? High-quality content produced under $0.1 per word and ready to be published. | ⌚ When do you do this? Every time you need to assign a new content idea to a copywriter. |
| ✅ Any special requirements? You should have content brief and outline. | 🙋♂️Who should do it? The person in charge for the content strategy. |
👉 Where this is done: In your Chrome web browser using dedicated sites.
⏳ How long will this take? about 1-2 hours then some time to receive a content
Let’s scale your content creation!

Environment setup:
- You have to know what kind of content you want to publish on your website/blog.
- And you must have a clear content strategy, outline, and brief.
In this SOP we will cover some of the best services that allow you to order a piece of content from a high-level writer. You will simply deliver a guideline about your desired content, the topic and extra information to picture your vision and wait for a writer (within the corresponding service) to create it for you.
In this SOP we’ll review three services, we tested and can recommend each company:
- Compose.ly: https://compose.ly
- Textbroker: https://www.textbroker.com
- Wordagents: http://wordagents.com
Scale content creation using Compose.ly
Creating Compose.ly account
- Go to Compose.ly website.
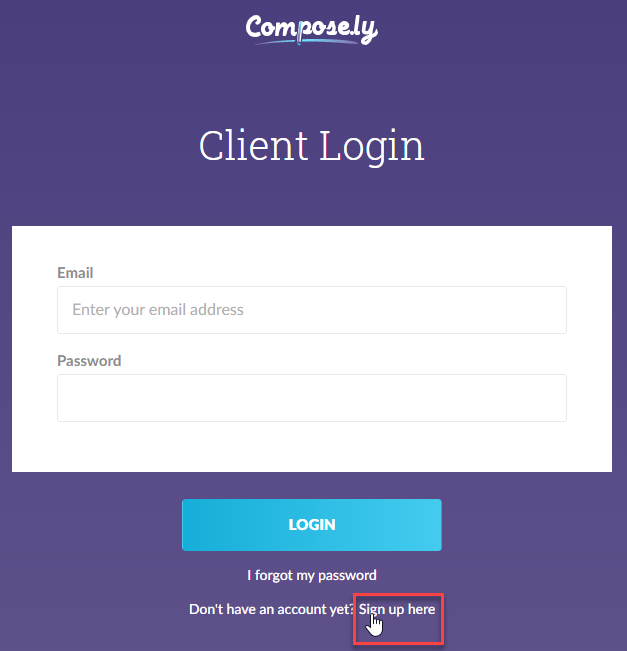
- In the upper right corner click on “Log in” and select “Customer Login”.

- Click on “Sign up here”.
- Fill in with your data such as name, email address and come up with the password. Enter your website (the one that you wish to create content for) and check the box next to “Terms and Conditions”.

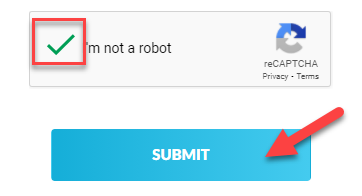
- Check that you are not a robot and click on “Submit”.
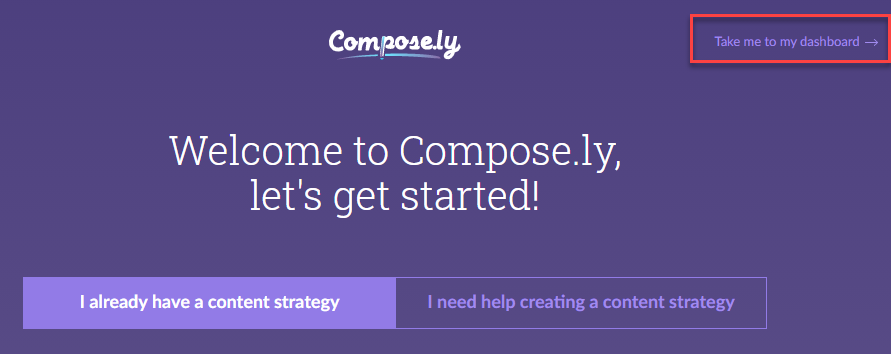
- Now click on the “Take me to my dashboard”.
Adding your brand to your account
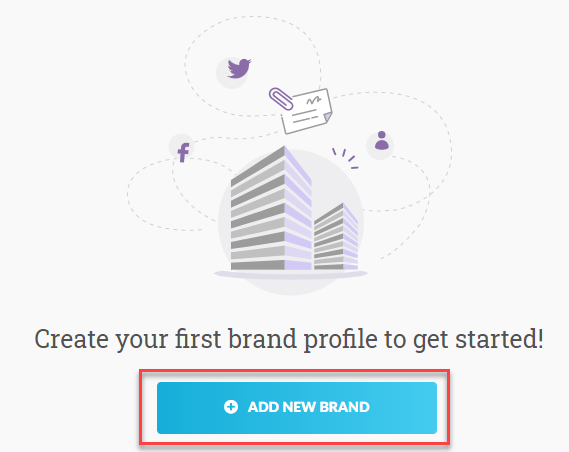
- Now it is time to “Add new brand” to your account.
- Start by typing your “Brand Name”.

- Choose the industry category of your brand from the list.

- Fill in with your “Brand Description”, so writers will know more about your brand and can refer to that information.

- Enter your “Brand Keywords/Keyphrases”. If you yet to find keywords for your brand, consult our SOP on how to do keyword research – here.

- Enter your “Brand Website URL” – the site for which you want to order a piece of content.

- Add links to your brand’s social media accounts. If you want to add more than one social media link, simply click on the “Add Link” button.

- Add “Competitor Links” if you want to prevent writers from linking back to those sites.

- Write about your “Target Audience”. The more specific information you will provide will help writers correspond to them.

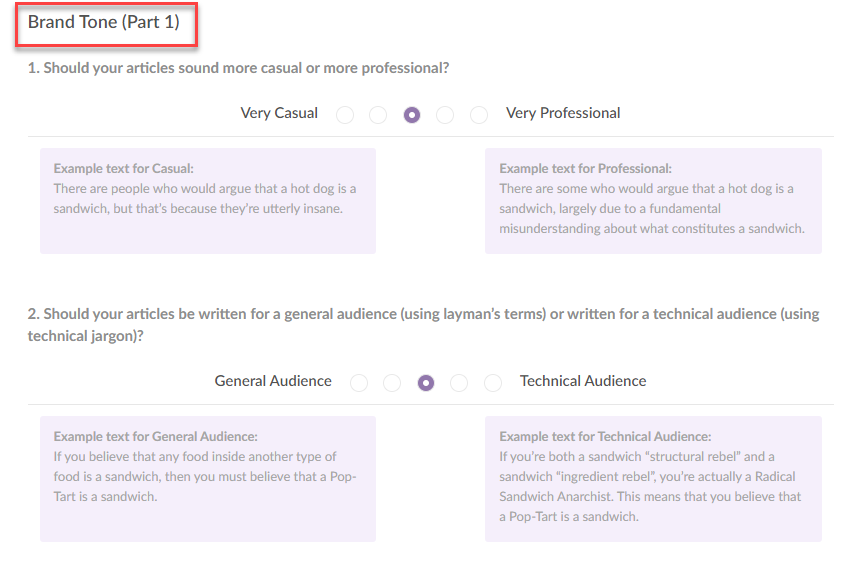
- Set the “Brand Tone” in which writers will write your content.
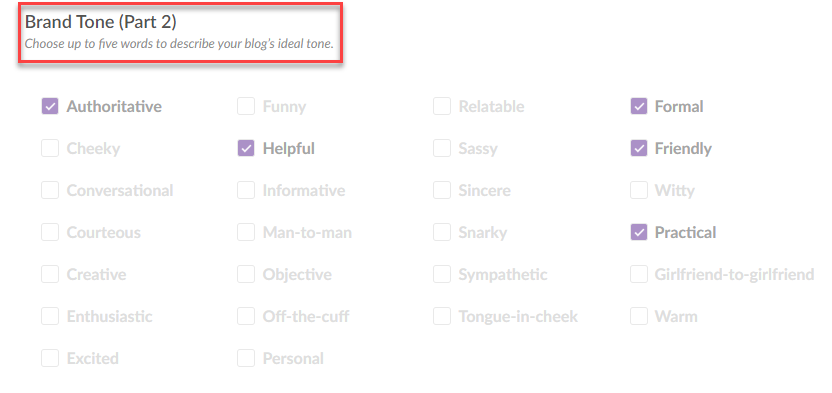
- Specify your “Brand Tone” further, by choosing up to five words to describe your blog’s ideal tone.
- Choose the “Blog/Article Structure”.
We highly recommend choosing “SEO-Friendly Article Structure”.

- “Upload Supporting Documents/Files”.

This is a very important step. You should provide all useful information such as older pieces of your content, any SEO guidelines for your site etc, so writers could refer to them while creating your new content.
- Finally, click on “Save” to add your brand to your Compose.ly account.

Creating a new project on Compose.ly
- Now you should be able to see your Brand on your Compose.ly dashboard.

- Click on “Create Project”.

- Start by selecting Project Type.
We are looking for content for a blog post for a website, so ”Blog/Article” will be our choice.

- Choose how many words you want your blog post to have, and pricing:
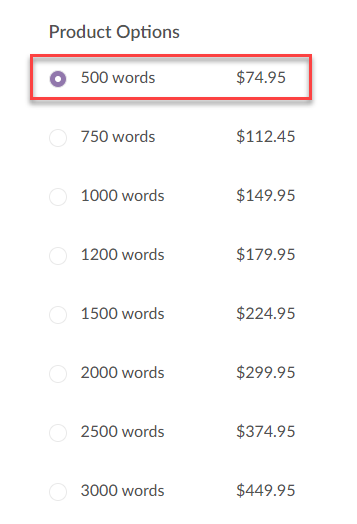
- Click on “Continue”.

- Now it is time to give some specific information about your desired article/blog post. Start by giving your ideal “Title” or by outlining the “Topic” you would like to cover.

- In the future you will be able to re-use it.
(if you decide to save the guideline you are creating right now)

- Now you should take some time to put “Description” with the purpose of your article. Specify the topics and points you want to include. Provide all the details that will help the writer. Try to give as much detail as possible.

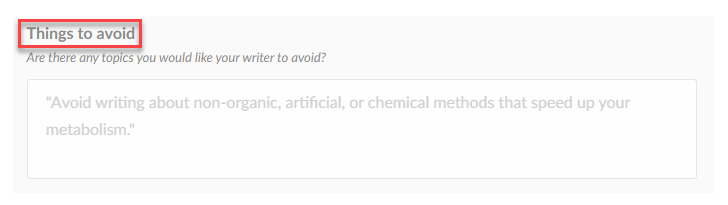
- If there are any topics you want to avoid in your article present them in the “Things to avoid” box.
- Provide “Focus Keyword/Keyphrase” – word or phrase that would best summarize the topic of this article.

- Provide “Related Keywords/Keyword Phrases” to support your focus keyword.

- Choose “Point of View” in which your article should be written.

- Select the method which the writer should approach while citing sources.

- Select if the writer should include free images.

- Put any other instructions for the writer. This is a good time to specify your needs.

- “Upload Supporting Documents / Files”.

This is a very important step. Take your time to find good source material
and (if possible) an article or post about the same topic.
- On the right side of the screen, you should see the price for your piece with “Estimated delivery date”. This is also the place where you can put your “Payment Details”.

- Finally, click on “Purchase”.
- Now when someone will write your article you can access it from your dashboard in the “Completed” tab.

Scale content creation using TextBroker
Creating TextBroker account
- Go to textbroker.com.
- Click on “Sign Up” in the upper right corner.

- Choose to sign up as a client.

- Fill in with your name, email and come up with a password. Type in your domain address (1) and give TextBroker some info on how you hear about them (2).

- Select your “Country of residence” from the list.

- Check the box next to the Terms and Conditions and the Privacy Policy and click on “Register now”.

- A confirmation message will appear that you have successfully registered your account. Confirm it within your mailbox, where you should find “confirmation email”.

Ordering article on TextBroker
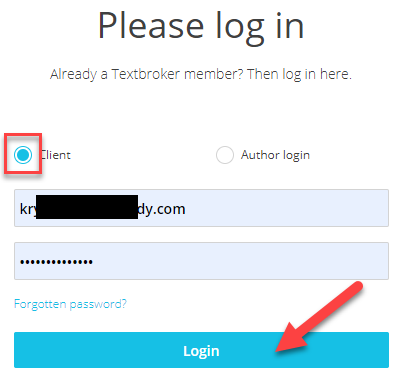
- Go back to textbroker.com and click on “Login” in the upper right corner.

- Select “Client”, fill in with your credentials and click on “Login”.
- Choose “Create New Order”.

- Before placing an order you should “Select template” from the list.
Choose what type of content you want. In this SOP we are choosing “Blog”.

- Once you select your template, click on “Place Order”.
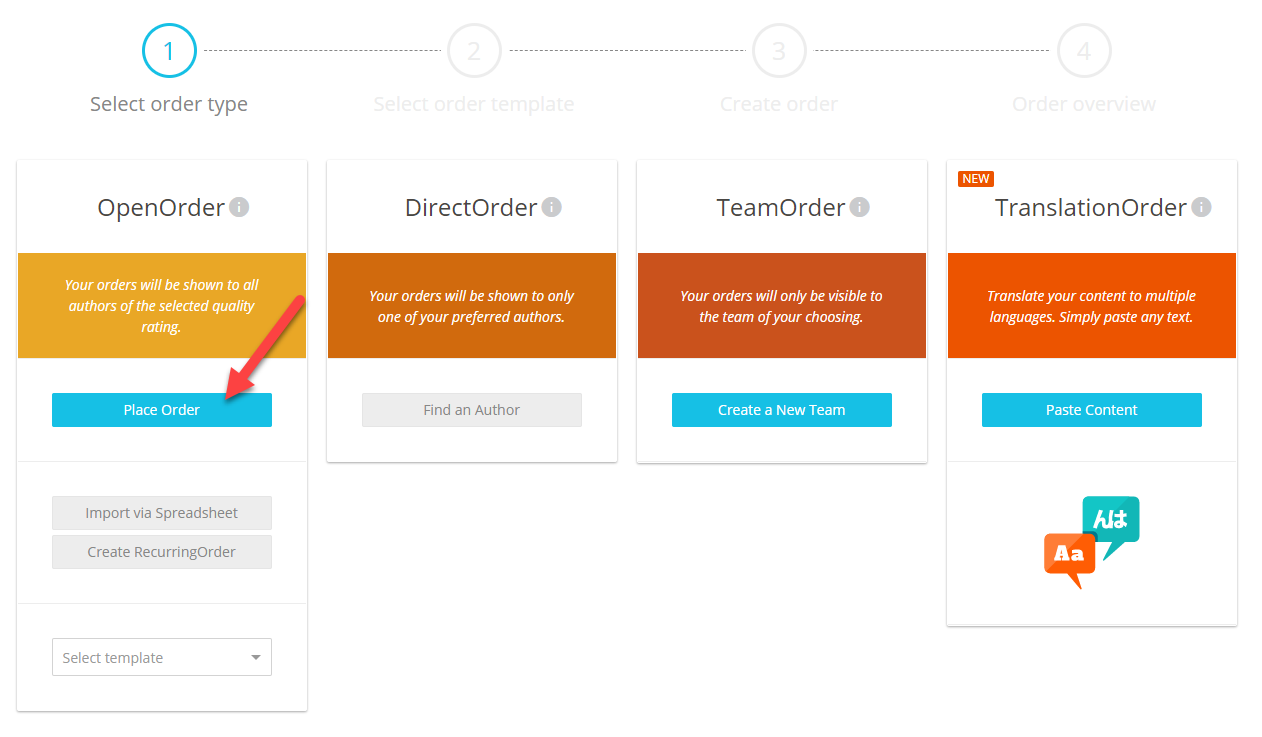
- Start by selecting “Project” from the drop-down list. Of course, if this is your first time using TextBroker the only available option will be “Create Project”.

- “Name” your project and click on “Create Project”.

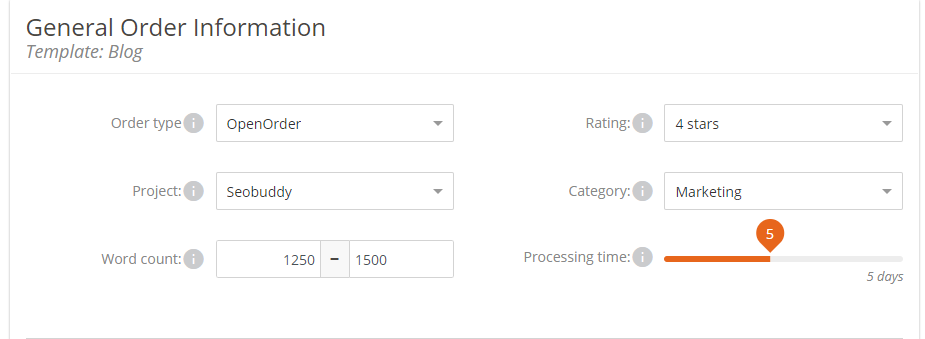
- Set the “Word count” for the piece. How long should your blog-post/article be?

- Choose the “Rating”. Editors are constantly grading all the authors of Textbroker marketplace. Only authors from the quality level selected by you (or authors with a higher rating) will be able to apply to fulfill your order.

- Select “Category” from the list. This will help your order to reach suitable authors.
- Set “Processing time”. The processing time is the time which the author has upon taking an order to complete it. If this time is surpassed, then the order will be available to other authors and the processing time will reset to zero.

- Review your selections and move to the next step.
- Select if your content requires research by the author.
Note that this selection will impact the price per word.

- Put the “Title” for your order and provide relevant “Keywords”.

- This step is very important. “Briefing” is where you will directly give guidance to the author about your order. Give as much detailed information as possible. You can provide links to relevant information or relevant blog-posts. Feel free to give as many details as you wish.
Anything not specified will be left to the author to decide.

- Click on “Save as Template” so you can always reuse your guideline.

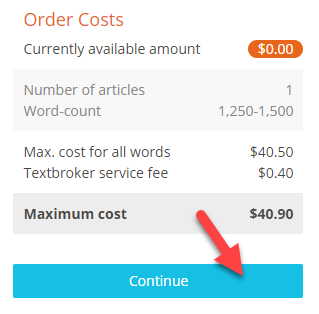
- Review the price of your order and click on “Continue”.
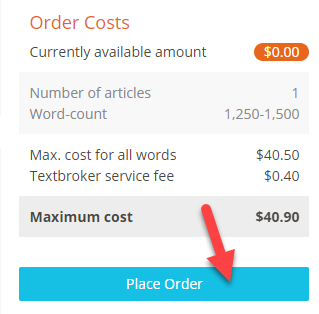
- Check the Order Overview – now is the time to do some changes if you want…

- … and click on “Place Order”.
Remember that you have to add funds to your account. You can do it via PayPal and other methods. Simply after logging in to your account select “Deposit” in the Account Balance section.

- Now by navigating to “Orders” or “Projects” under the “Order Administration” section you will be able to see all your orders, or just the one of a specific project.

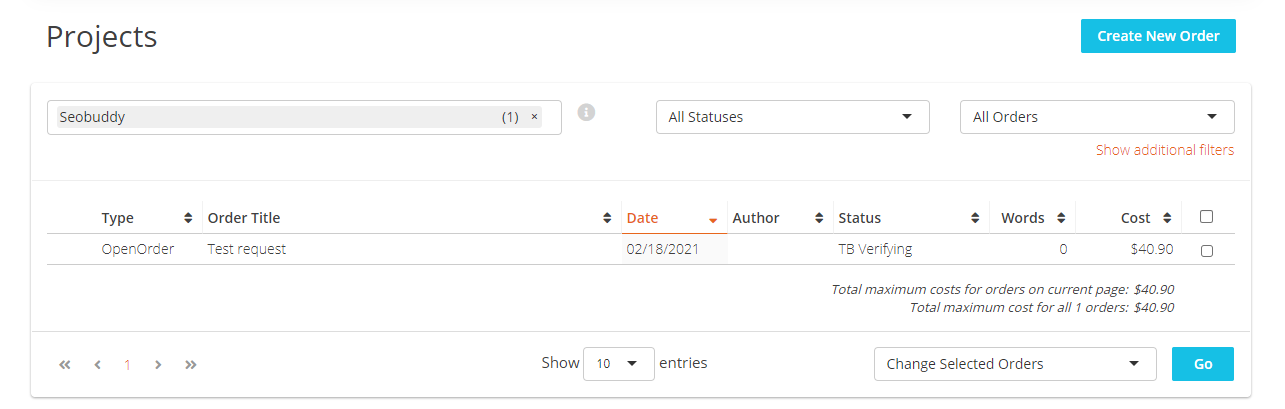
Utilizing the same menu, you will be able to check your order status and get delivery of your order once the author delivers the content to the marketplace. You will be able to review it and ask for revision if necessary.
Scale content creation using WordAgents
Creating WordAgents account
- Go to wordagents.com.
- Click on “Log In” in the upper right corner.

- Click on “Sign up”.

- Fill in with your Name, email address and come up with a password.
Then click on “Sign up”

Ordering article on WordAgents
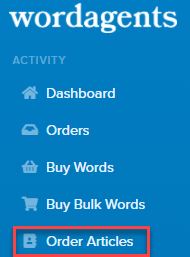
- Once you log in to your account, select “Order Articles” from the left side menu.
- Type in “How many articles do you need?”.

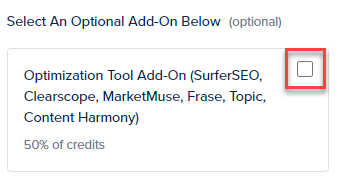
- You can select an optional add-on for further SEO oriented quality of the article by checking this box.
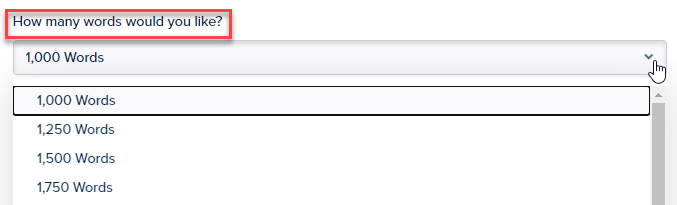
- Select how many words would you like the content writer to produce for this article.
- Type in “Title or Topic” for your article.

- Provide a single “Target Keyword” for your article.

- You can optionally provide some “Secondary or LSI Keywords”.

- Now you should provide a briefing for the author. This step is very important. You should directly give guidance to the author about your order. Give as much detailed information as possible. You can provide links to relevant information or relevant blog-posts. Feel free to give as many details as you wish. Pieces of articles that you find relevant to your topic are welcome. Give a guideline about the style of writing, form and tone of the article.

You should prepare the above direction in some kind
in files like MS Word, Excel or Google Docs.
- Check the box to accept the Terms & Conditions..

- Review the summary of the cost of your article…

- … and press “Complete Purchase”.

Note that you should have credits on your account. You buy credits by utilizing “Buy Words” and “Buy Bulk Words” options from the left side menu of your account.

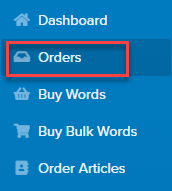
- Once your order is ready for you, access it by selecting “Orders”
Now you know how you can easily outsource content creation in a manner that will provide you with high-quality content according to your directives.
This will help you to focus or other things on your way to the top.