| 🎯 What’s the goal? Install Wordpress on AWS (Amazon Web Services) with a free 12-months plan | ⚠️ Why does it matter? If you interested in the AWS Free Trial |
| 🏁 What’s the result? Launch a new virtual machine on AWS Server, and install it with a WordPress software image to run your future website and lay the foundation of your new online presence.. | ⌚ When do you do this? When it’s time to pick a new hosting provider |
| ✅ Any special requirements? Need a Credit Card | 🙋♂️Who should do it? The person responsible for managing your website. |
⏳ How long will this take? 10 - 20 minutes
Now let’s start to build the foundation for your Website
Environment setup
- Make sure you use Google Chrome browser to navigate the web,
- Prepare Credit/Debit Card for registration*
- Prepare your cell phone for verification*
* It’s free but a unique Card & Phone Number is required to make sure you’re not taking advantage of AWS free trial that is limited to one account per person.
Create an AWS account
If you are already shopping with Amazon, you can use the same Credentials of your Amazon account, there on AWS. If not, then please go ahead and create a new account.
- Go to Amazon Web Services (aws.amazon.com)
- Click on “Create a Free Account”

- Now you have to enter your email address and create a password for your new AWS account and name it (Eg: myBlogName), if you want some tips about how to organize your password, please check this Ultimate Guide to Password Management.
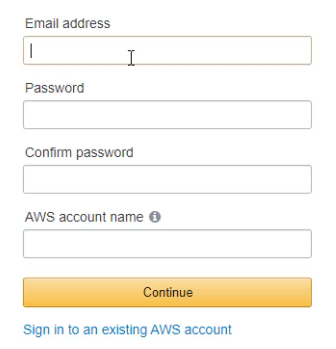
- Click the button “Continue”

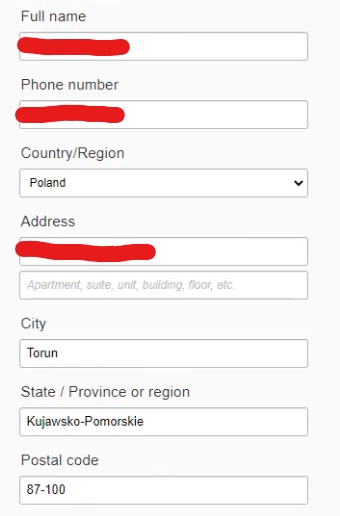
- On the next step, You should add some basic information
- I select “Personal” for the purpose of this guide, but if you are a business entity you can also select “Professional” and enter a company name.

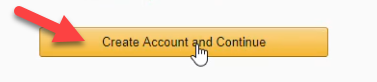
- Finally, check the box next to the agreement

- Click “Create Account and Continue”
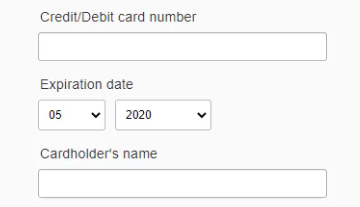
- In the next step, you need to enter your Credit or Debit card data, nothing will be charged from your card, it’s just a way of verifying that you’re a unique person and not taking advantage of the 12-month free plan.
- And then, confirm your address, or “Use a new address” if it is different from the billing address of your Credit/Debit Card:
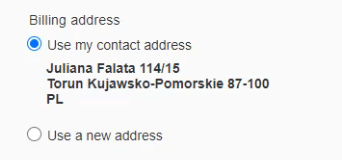
- Click on “Verify and Add”

- Next step, you’ll need to enter a valid phone number. Amazon will send a verification code to make sure the number is valid. So start by filling the necessary data for receiving verification code and proceed and press “Send SMS”
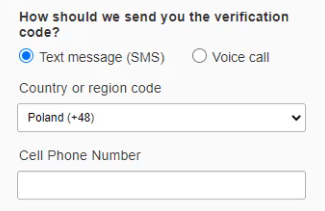


- Fill in with the code you just received on your mobile device, and click “Verify Code”, then if it was correct press “Continue”.


- On the next page, we will choose the “Free Plan”

- Then, you can choose to select your role and your interests if You want to receive recommendations from Amazon.com (you can leave it blank).
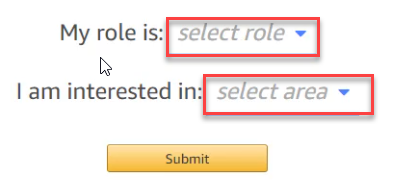
- Finally, click on “Sign In to the Console”

- To sign in choose “Root user” and enter the email address you used to create your account on AWS and click “Next”

- Enter your password and press “Sign in”

- Wait for the page to load…

Create your Wordpress Instance / Server on AWS
- Now you should be able to see AWS Management Console

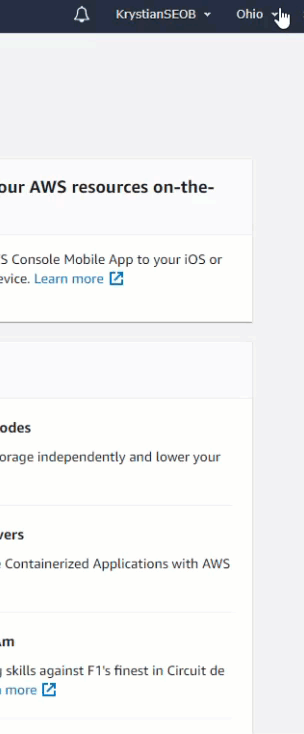
- Start off with choosing the region for your data center (upper right corner), Amazon has many locations for their Data Center, and here you can pick the location that seems to be the closest to the future audience of your website.
- Click on “All services” and choose “EC2” under “Compute” tab

- Select “Launch Instance”

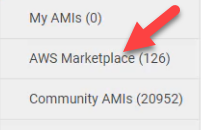
- Now search for “bitnami” in the search engine

- Search for results in “AWS Marketplace”, you need “Wordpress with ubuntu 16.04 or higher” and “Free tier eligible”, ignore the option with SSL as we will prepare another SOP to explain how to get a free SSL for your website using Cloudflare.
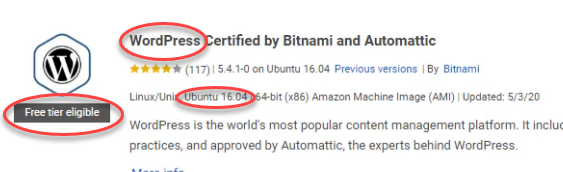
- Press “Select”
- You can review your choice with pricing after your free year, and then click on “Continue” and then select the instance ”t2.micro” that is “Free tier eligible” for your 12-Months free trial.
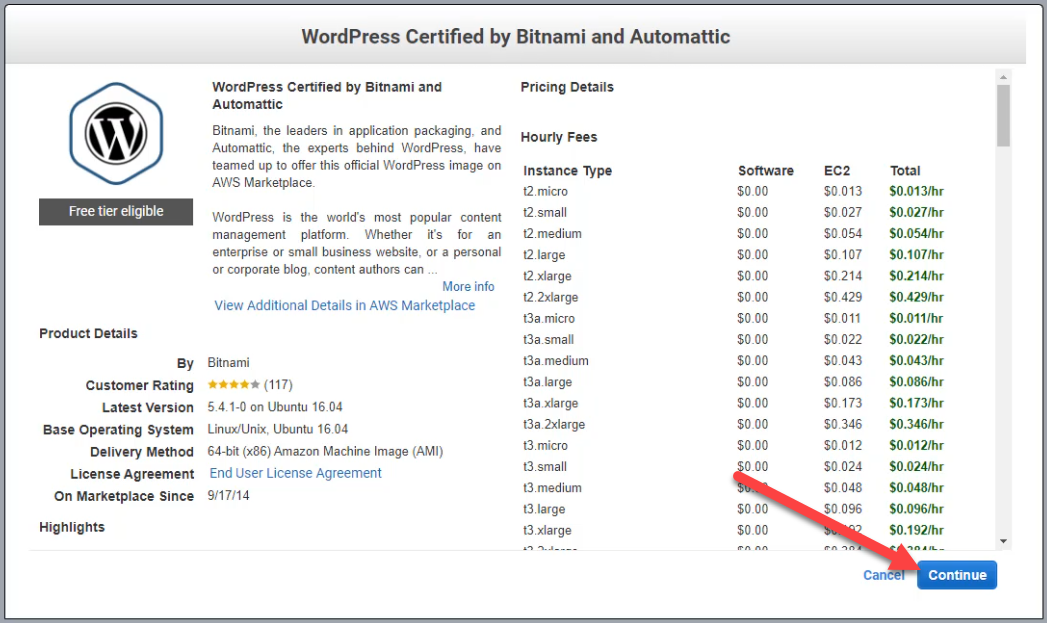

After 12 Months this instance will cost $0.013 / hr “on-demand” which translate to $113.88 / year
Or if you reserve it for 1 year, the price will reduce to $0.007 / hr which translate to $61.32 / year
- Press “Next: Configure Instance Details” to start configuring your new instance, we recommend you to select “Protect against accidental termination”, then click on “Add Storage”


- You can choose to stay with 10GB of storage (It will be enough), be careful not to add storage above the free limit

- Now press “Next: Add Tags”, where you can add tags for your instance, it’s useful if you have many instances and want to sort them in groups. But you can skip this for now (and can always add them in the future)

- Then click on “Configure Security Group”

- We recommend you to leave the default settings here

- Finally, click on “Review and Launch”

- You can review all your choices and press “Launch”

NOW, THIS IS VERY IMPORTANT STEP - YOU NEED TO CREATE AND DOWNLOAD A NEW PAIR OF KEYS TO ACCESS THE CONSOLE OF YOUR SERVER,
YOU NEED TO STORE YOUR “KEY FILE” SOMEWHERE SAFE SUCH AS GOOGLE DRIVE OR EXTERNAL DRIVE WHICH YOU CAN ACCESS

- Select in the drop-down menu “Create a new key pair” and then enter the desired name (eg: mysitekey) and press “Download Key Pair”.
The Security Key is a file with “*.pem” extension

- Now, you can click “Launch Instances”

- Wait a moment…

- If everything went ok, you should see this

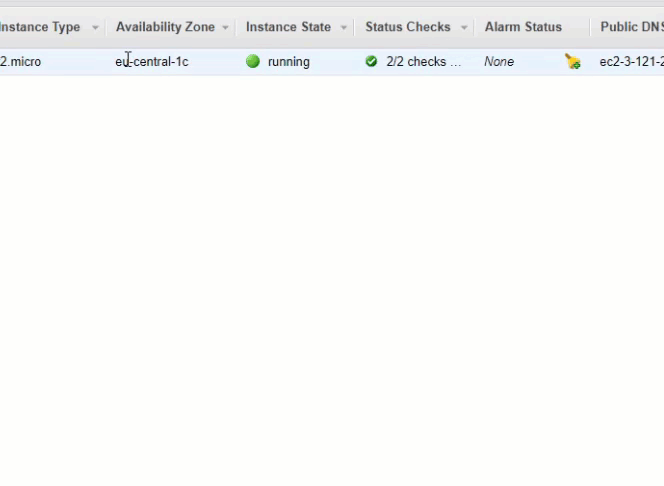
- Now, you can go back to the EC2 services page from the top left menu:
- Select “Instances” on the left side

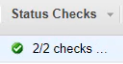
- You should see in “Status Checks” that the instant is “initializing”

- At the bottom of the same page, you should see information about your server, find “Public DNS (IPv4)” and copy it

- This is the temporary URL of your Website (until you buy a domain name). So you can copy and save it, and then paste it in a new tab (you will need to keep the previous tab open to finish configure your Wordpress Installation)

- On this URL you should already be able to see your own Wordpress website!

- If you can’t access yet your website, then please get back to previous browser tab and check if “initializing” status has changed to “2/2 checks” - if not wait for it to finish initialize:
Find the password of your Wordpress Admin Panel
You have now a fully working virtual server running on Amazon AWS Data Center with Wordpress installed on it, now it’s time to find the password of your Wordpress Admin Area.
- Right-click on your instance and select “Instance Settings” > and ”Get System Log”
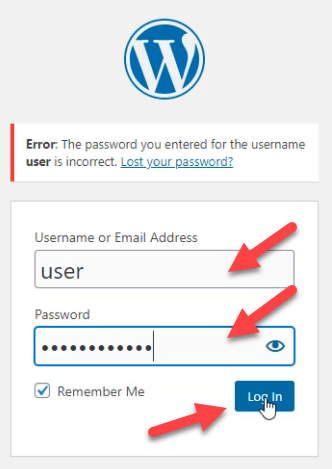
- In the pop-up window, close to the end, you will find username and password


- Now go back to your website and click on “Log in”

Once you click “Log in” you will be redirected to the URL of the Administrative Area of your Wordpress Website. Once you customize your Wordpress website with a theme, this link to “Log In” might disappear so you better save this URL now, but in case you lost it, it should look like this: yourwebsiteip/wp-admin or yourwebsiteip/wp-login.php
- Enter the username and password you found in the previous step, and press “Log in”
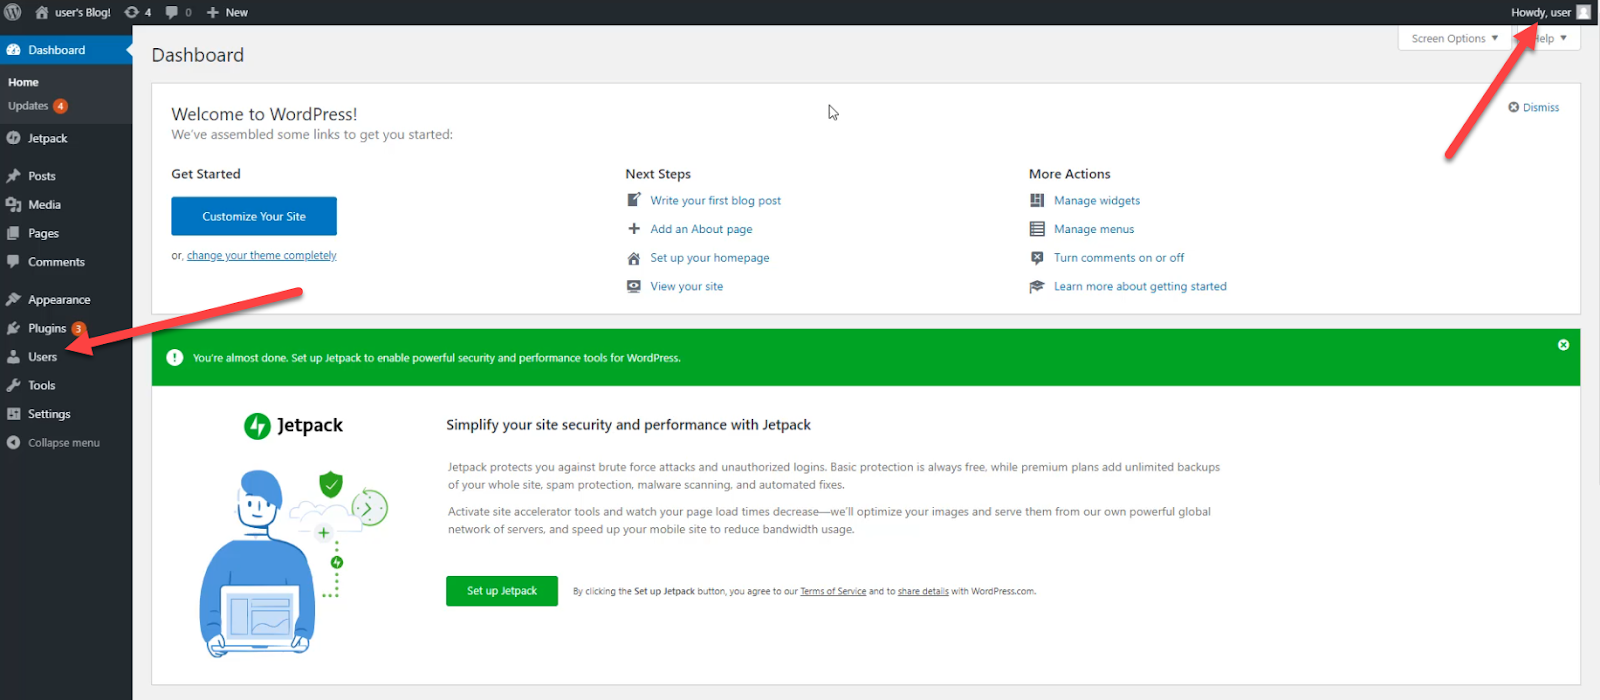
This is it! Congratulations. You’re now on the dashboard of your Wordpress Administrator Area.
Your new website is online. If desired, you can go to the section “User” in the left menu to change the default username and password of your Wordpress Administrator.
Now it’s time to Customize your Wordpress website with a theme.
Ready to Transform Your Productivity?
At Lil Assistance, we've perfected the art of virtual assistant partnerships. Our flexible team model means you get the right specialist for every task, managed by experienced project managers who ensure quality and consistency.
Get Started with Your VA Team