| 🎯 What’s the goal? Have G-Suite set up for your domain and use Gmail, Docs, Drive, Calendar, Meet and more for your business. | ⚠️ Why does it matter? For most people, Gmail is a good interface for email. Also many outreach solutions you might use for your SEO effort connect much more easily with Gmail. |
| 🏁 What’s the result? You can use the Gmail interface to manage the email for your domain name. | ⌚ When do you do this? After you buy your own unique domain name, check our SOP005 on how to buy a domain name with GoDaddy. |
| ✅ Any special requirements? Credit Card required (G-Suite is not free) | 🙋♂️Who should do it? Owner of the website or manager. |
👉 Where this is done: In the G-Suite official web page.
⏳ How long will this take? about 1 hour.
Let’s get started. In about 1 hour you will have your own virtual business office.

Environment setup:
- We recommend that you use Google Chrome browser to navigate the web.
- You need to have a domain. Check our SOP005 on how to buy one with GoDaddy
Creating G-Suite account
- Go to G-Suite.
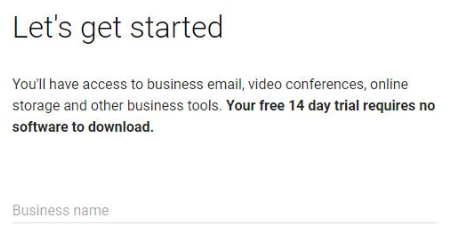
- Click on “Get started”.

- First, you need to enter some basic information. Start off with your “Business name”.
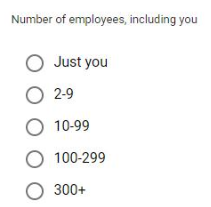
- Choose how many employees you have (including you).
- Choose your “Country” from the list by clicking the symbol pointed by the red arrow.

- Click on “Next” and you will be moved to the next page.

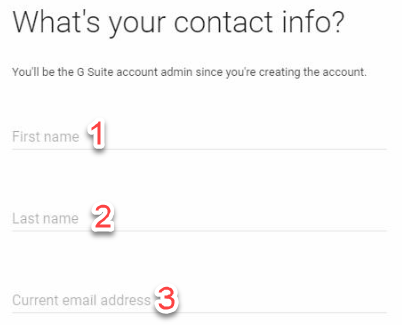
- Now you need to fill in with your “First Name”(1), “Last Name”(2) and your “Current email address”(3).
- Click on “Next”.

- Choose “YES, I HAVE ONE I CAN USE”.

- Enter your domain name and click on “Next”.

- You will be asked to use your domain to set up the account. Your email address will end with your domain name. Confirm that by clicking on “Next”.

- It is up to you if you want to share your opinion and ideas with Google.

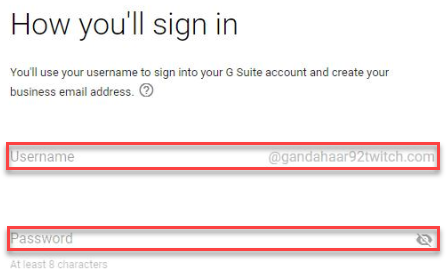
- Now you have to create “Username” and “Password” for your G-Suite account.
Your username will be your main email address for G-Suite. For this SOP we will use “gandahaar92twich” username in my situation, our main email address for G-Suite will be “[email protected]”.
- Confirm that you are not a robot by checking the box.

- Then click on “Agree and Continue”.

- You will be presented with a review of your payment plan. For the first 14 days, G-Suite is free. During that period you can choose to sign out or choose another payment plan. After 14 days you will be automatically charged for “Flexible Plan”.
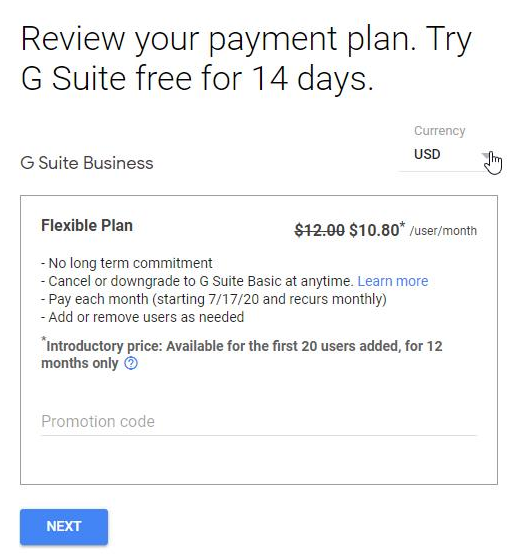
- You can choose the currency by selecting it from the dropdown list.
We highly recommend you to click on “Learn more” in the payment review.

Here you can check how to downgrade your G-Suite for another plan or cancel G-Suite services.
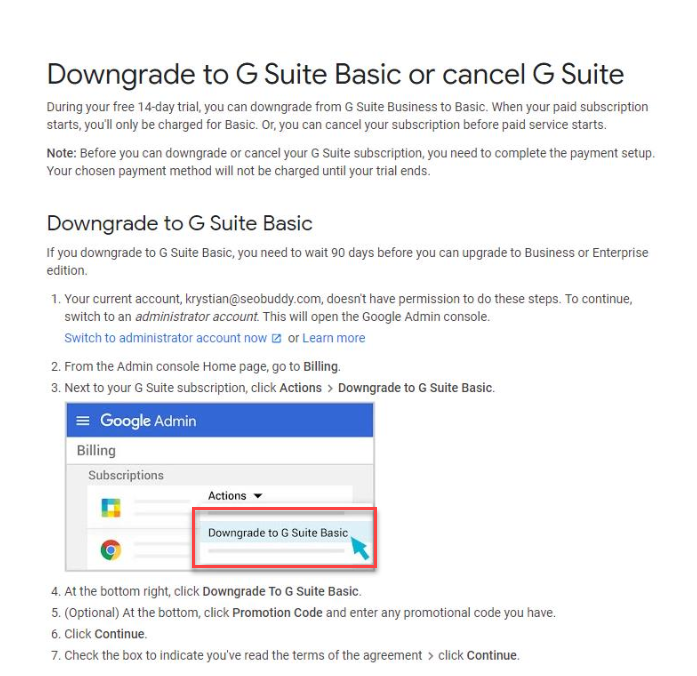
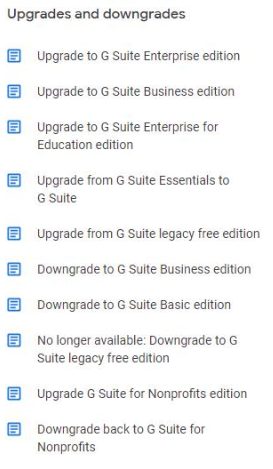
You will also find more guides here if you decide to move to another plan
You should bookmark this page so you can easily review it in the future
- After you review the payment plan, click on “Next”.

- You will be moved to the “Review and check out” page.

- Here you need to fill in with your address.

- Enter your credit or debit card details. Uncheck the box if your card address differs from the one you entered above.

- Click on “Next”.

- This was the last step of your G-Suite Account creation.

Setting Up your G-Suite email address
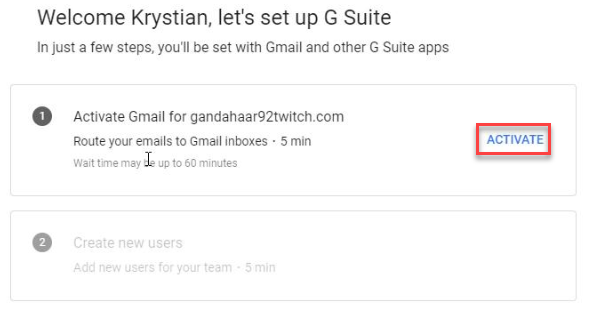
- After creating your account, click on “Continue to Setup”.

- First of all, you have to activate Gmail for your account. Click on “Activate”.
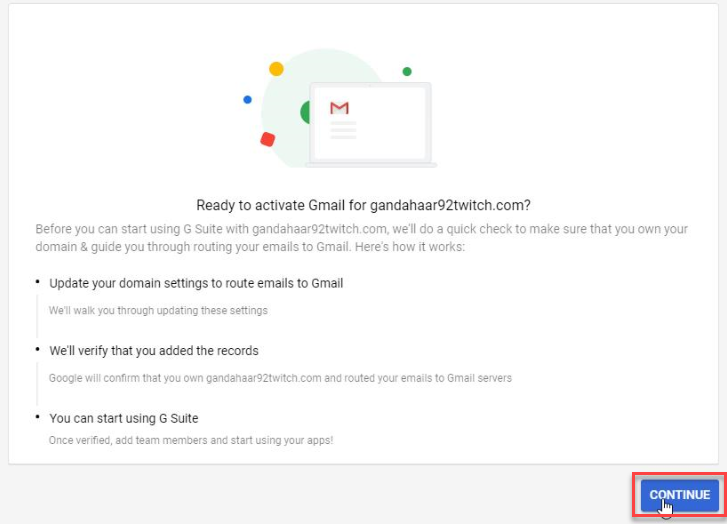
- You will be presented with a list of actions you will perform in order to activate Gmail for your account. After you read them click on “Continue”.
In the activation step, Google will give you a manual on how to add required records on your domain’s host website. In our case, this will be Cloudflare, since we are set up SSL protocol with it. For other providers, the activation procedure is very similar so you can easily consider this part of SOP as a referral.
- Google will automatically detect your domain’s provider.
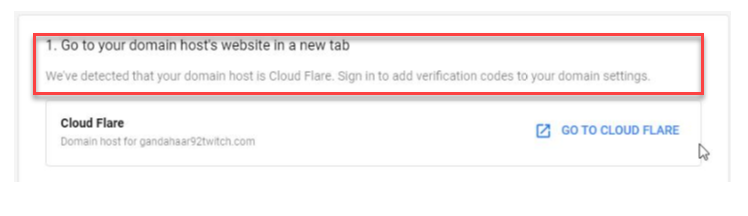
- Underneath, you will find step-by-step instructions on how to add required records to your domain’s DNS setting.

- Click on “Go to Cloud Flare” (If you are using another domain host provider, it should be here instead “Cloudflare”). In this SOP we will stick with Cloudflare during configuration.

Your domain’s host website will open in a new tab of your website. Keep G-Suite page opened in your browser all the time during activation.
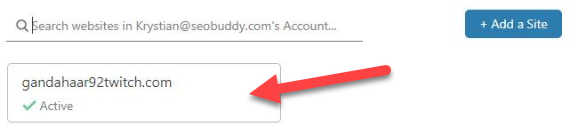
- After logging in to your Cloudflare account, choose a domain you used during creating G-Suite Account.
- Click on “DNS”.

- Click on “+ Add record”.

- Choose “MX” type from the list under “Type” box.
- Type “@” in the “Name” box.

- Now you have to fill in with the “Mail server” and “Priority”. “TTL” box should be set to “Auto”. In the next step, we will show you where to find correct values to type in here.

Adding proper values to the MX record.
- Go back to G-Suite. In the manual, you should see values you need to add in your DNS record. There is a “Server” or “MX Server Address” you need to enter in the “Mail server” box in your DNS records manager and also a “Priority” value to put into the “Priority” box. Start off with adding fist record with proper values (1), and then you should add 4 more the same way (2, 3, 4, 5).
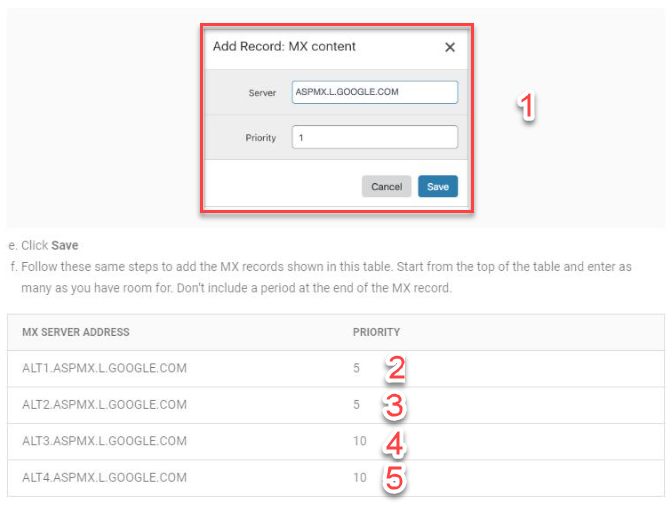
- The first record should look like this. The rest will differ from first one in “Mail server” box and “Priority”.

- Click on “Save” after filling in each record.

- As the 6th record, you have to copy the “verification code” from G-Suite by clicking on “Copy”.

- In your DNS settings add another MX record with “Priority” set to 15 and paste your “verification code” into the “Mail server” box.

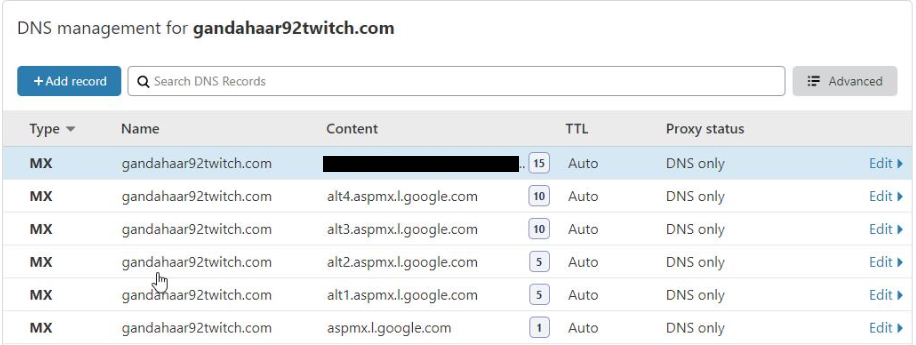
- After adding all six records, you should see them in your DNS records list (verification code was blacked-out for security purposes).
Finishing Gmail Activation
- After adding required records to your DNS settings, go back to G-Suite and click on “Activate Gmail”.

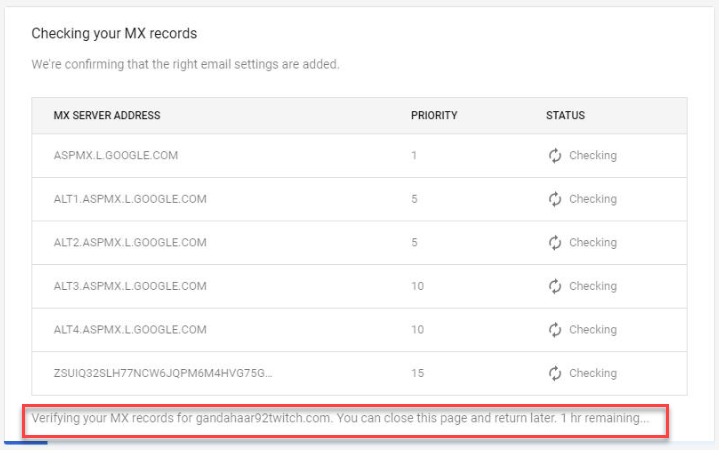
- “Checking your MX records” window will open.

- After a couple of seconds, you will see that “Status” has changed to “Added” but don’t close the window yet as it is just the 1st step of the verification process.

- “Status” will change to “Checking” and a new message will appear underneath. We highly recommend you to leave that window open. Many users report that of they close the window and get back to it in an hour, they have to wait another hour for that process to take place. In our case, verification was successful within 15 minutes.
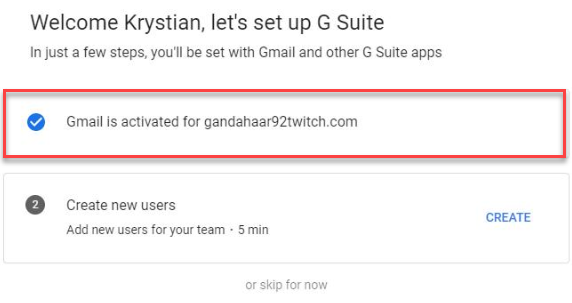
- After activation, you will be automatically redirected back and you will see that “Gmail is activated for yourdomainname”.
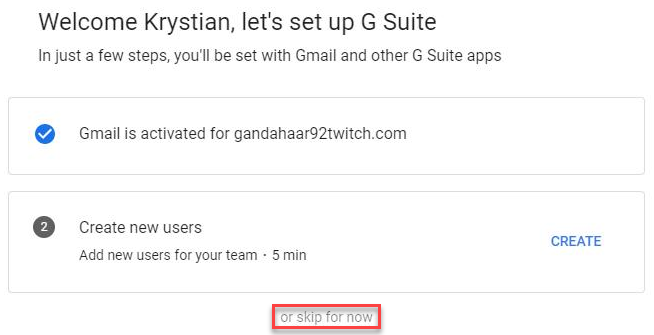
- We won’t add any “Users” in this SOP. Click on “or skip for now”.
You have to remember that every user costs extra money.
If you want to add more users check our SOP017 on how to do that.
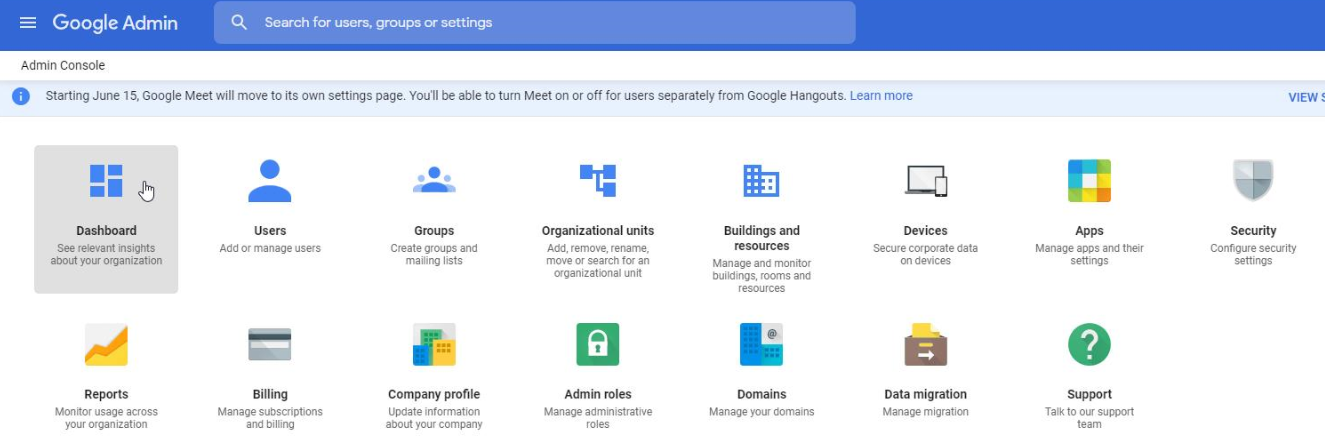
- You will be moved to “Google Admin” Dashboard. That means you successfully created a G-Suite account, activated Gmail for it and added new users (If you choose to).

Logging into your G-Suite Admin Console
- Go to G-Suite.
- Click on “Admin console” in the upper right corner.

- Remember to log in with your G-Suite main account as it acts as Administrator for your G-Suite.

- And this is your G-Suite Admin Console.
You account and all user (if you created any) are managed by your G-Suite account

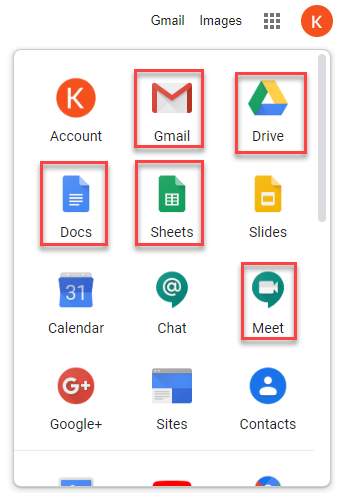
You (and any user) have access to Gmail, Drive, Docs, Sheets and Meet
There You have it. You make the first step into Google G-Suite. This is a work-friendly place that will make your business easier. Now you can receive email from any address from domain name, create a shared directory on Google Drive and create a workgroup.