| 🎯 What’s the goal? To set up your website Sitemap and add it to Google Search Console. | ⚠️ Why does it matter? Having a sitemap added to Google Search Console helps search engine crawlers to find more easily the content you want them to index, and to understand better how important each page of your website is. |
| 🏁 What’s the result? Sitemap created and fetched by Google Search Console. | ⌚ When do you do this? After enabling Google Search Console for your website, ideally, your sitemap should be automatically updated by your SEO Plugin so you no longer have to worry about it. |
| ✅ Any special requirements? You need to have Google Search Console enabled for your website (SOP008) You need to have Yoast SEO Plugin installed on your Wordpress site (SOP006). | 🙋♂️Who should do it? Owner of the website or the person in charge of analytics. |
👉 Where this is done: In your WordPress Admin Panel and Google Search Console tool.
⏳ How long will this take? about 10 minutes
Let’s get started, in 10-min your website maze will no longer have secrets for search engine crawlers.

Environment setup:
- We recommend that you use Google Chrome browser to navigate the web.
- Administrator access to your WordPress website,
- Access to Google Search Console tool.
Checking your sitemap using Yoast SEO Plugin
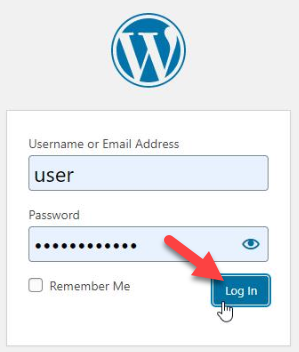
- “Log In” to your Wordpress Admin Panel.
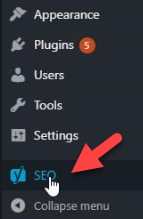
- Choose “SEO” on the left side menu.
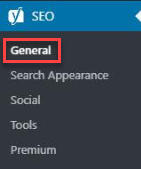
- Then choose “General”.
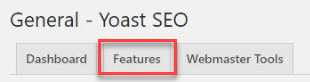
- Choose the “Features” tab in Yoast Settings.
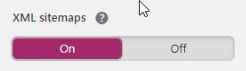
- Make sure that “XML sitemaps” feature is enabled (if it’s not, turn it on).
- Click on “Question mark”.
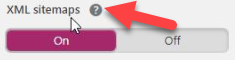
- Then click on “See the XML Sitemap”.

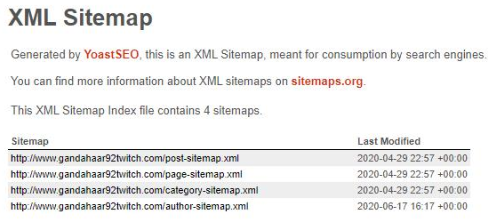
- You should be redirected to your sitemap URL.

- There you can see your “sitemap_index.xml” file that is automatically created by Yoast
Adding a sitemap to Google Search Console
- Go to “yourdomainname.com/sitemap_index.xml.
- Copy part of a web address after “yourdomainname.com/”. This is your sitemap URL.
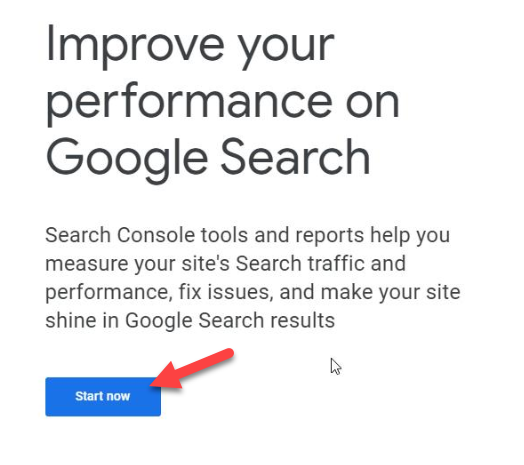
- Go to “search.google.com/search-console”.
- Click on “Start now”.
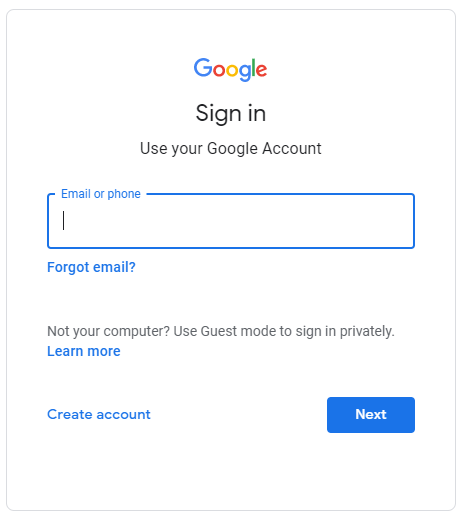
- Sign in with the Google Account you used to enable GSC for your website.
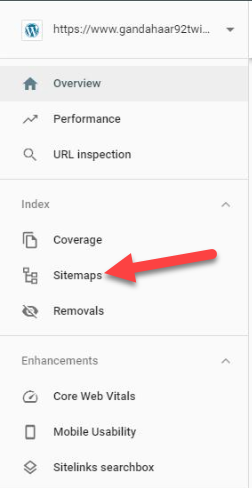
- In the Google Search Console tool click on “Sitemaps”.
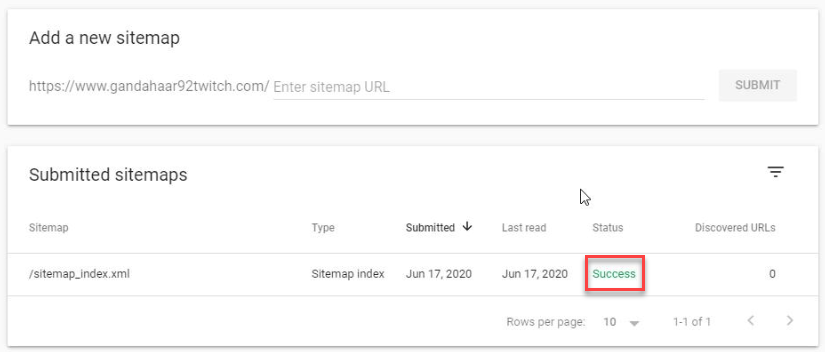
- Paste your sitemap URL.
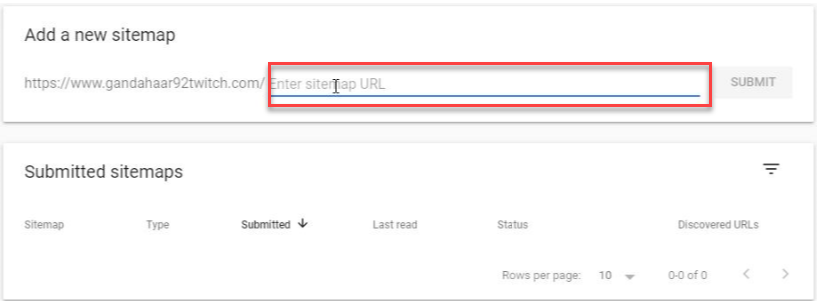
- Then click on “SUBMIT”.

- Wait a moment for the process to finish.
- Now you should be able to see a confirmation message. Click on “GOT IT”.

- In most cases, after submitting a sitemap you will see Status: “Couldn’t fetch”.

- You just need to refresh the page. Simply press “F5” on your keyboard.
To learn more about XML Sitemap with Yoast, and configure in-depth what will appear in your SiteMap, please visit: https://yoast.com/what-is-an-xml-sitemap-and-why-should-you-have-one/
This is it. You successfully created a sitemap and you added it to Google Search Console, making it easier for Google crawler to monitor the changes on your website.

Ready to Transform Your Productivity?
At Lil Assistance, we've perfected the art of virtual assistant partnerships. Our flexible team model means you get the right specialist for every task, managed by experienced project managers who ensure quality and consistency.
Get Started with Your VA Team