| 🎯 What’s the goal? Set up the desired permalinks structure for your website. | ⚠️ Why does it matter? A simple permalink makes a URL easy to understand and share. Permalinks are an important part of your site as both search engines and your audiences use these URLs to index and visit your site. A long URL with a lot of numbers or keywords and without clear information at the end is a lot less shareable than a simple and informative one. |
| 🏁 What’s the result? Your website’s permalinks are edited in a way that makes them SEO-friendly. | ⌚ When do you do this? As soon as possible once you launch your website. After changing the permalinks structure, search engine crawlers need some time to index them. Any old permalinks (for example shared with audiences of your website) won’t work after changing your permalinks structure. If you are going to change your permalinks on a live website we recommend you use 301 Redirects Plugin for WordPress afterwards. |
| ✅ Any special requirements? This process only applies to WordPress sites. | 🙋♂️Who should do it? The owner of the website or the person in charge of managing it. |
👉 Where this is done: In your WordPress Admin Panel.
⏳ How long will this take? about 10 minutes.
Let’s start. Within 10 minutes you will design catchy and SEO-friendly permalinks.

Good and catchy post names and pretty permalinks are from an SEO perspective, one of the most important parts of your URLs. We recommend you to read SEO Buddy’s post about “How to Create SEO Friendly URLs”.
Set Up Permalinks
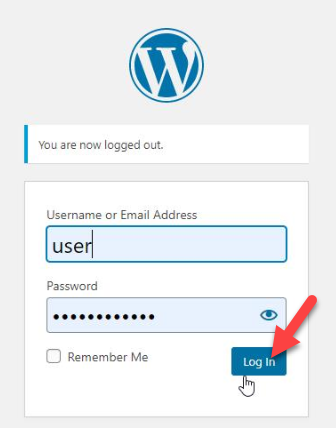
- Go to your WordPress Admin Panel (“yourdomainname.com/wp-admin”).
- Enter your credentials and press “Log In”.
- After logging in, click on “Settings” on the left side menu of your Admin Panel.

- Then click on “Permalinks”.
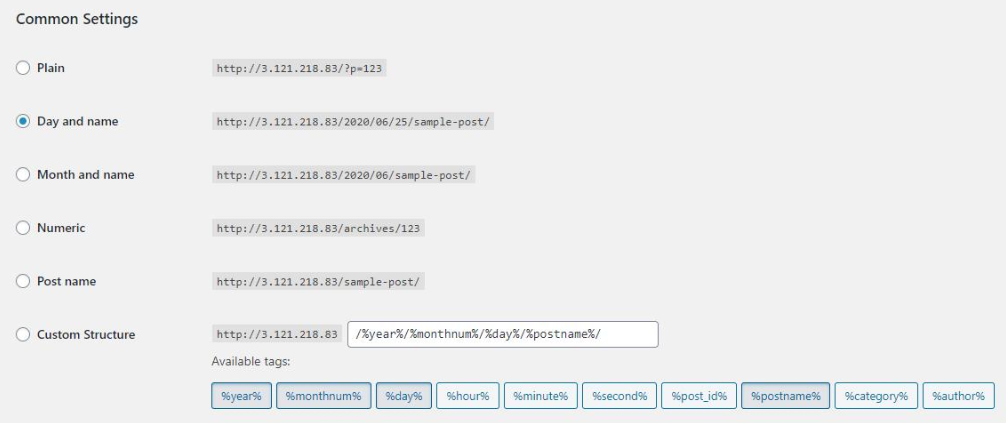
- You will be presented with a list of “Common Settings” for permalinks structures.
Choosing perfect permalinks structure for your website
It is very important for your permalinks to reflect your website’s purpose. For example, if your website contains news, it will be a good idea for your permalinks to include the date of a post to make it easy for your visitors to check the date of it.
In this part of this SOP, we will cover every permalinks structure provided by WordPress with an example after each one of them. Every example will be provided with a URL from www.gandahaar92twitch.com website and post titled “Hello world!”
To choose the desired permalink structure you need to check the circle next to it.

- “Post name” – your URLs will contain the name of the post to which it leads.

- Your URLs will look like this:

- After you choose permalink structure you have to click on “Save Changes”.

We highly recommend you choose the “Post Name” permalinks structure.
It is short and attractive for any audience. It will attract potential viewers and visitors for your website. Even though we recommend the “Post Name” structure, we’ll cover the other structures at the end of this SOP so you have a better understanding of the available option. It might come out that a “Custom” solution will suit your website purpose better.
Note that there is a warning from WordPress about changing permalinks on a live website. There is an advanced way to deal with that problem. We will cover it in our future SOP. Pick a permalinks structure carefully so you don’t have to change it in the future. Incorrectly redirecting your old URLs to the new URLs might lead to site problems and will prevent search crawlers from indexing your website and you could get dropped from the rankings. Think about the ideal permalink structure as soon as possible.

Very important thing is that your URLs be SEO friendly.
So you must think of catchy and attractive post names.
In this part of the SOP, we will show you how to change post names on your website.
How to Change Post Name displayed in your URLs in WordPress
Change Post Name displayed in your URLs, using the build-in tool
- Log in to your WordPress Admin Panel

- In the left-side menu choose “All Posts” under the “Posts” option.

- Choose a post which name you want to change.

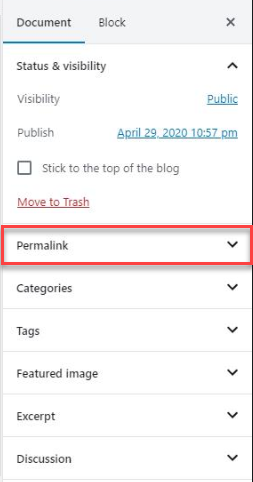
- You will be redirected to the post editor. Click on “Permalinks” in the right-side menu.
- A new option will be shown. In the “URL Slug” box (1) you can see your current post name with a visualization on how it will be displayed in the Internet browser (2).

- To change your post name, simply type it in the “URL Slug” box. You will see the preview will change as you do so.

- Finally, click on “Update” in the upper right corner of the page.

Change Post Name displayed in your URLs, using Yoast SEO Plugin
- Log in to your WordPress Admin Panel
- In the left-side menu choose “All Posts” under the “Posts” option.
- Choose a post which name you want to change.
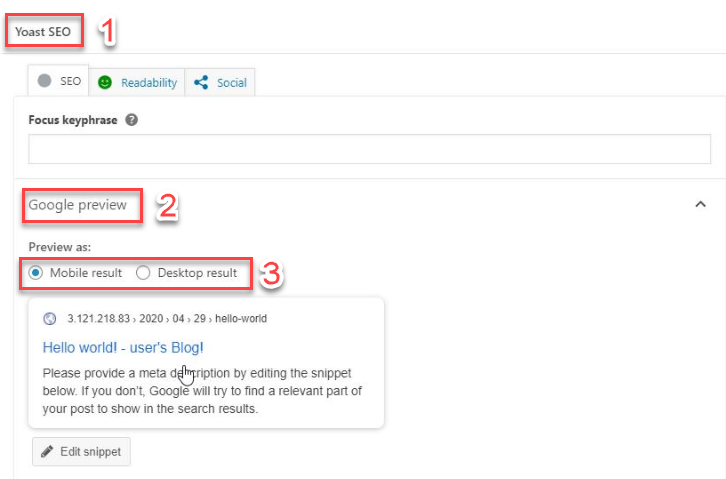
- You will be redirected to the post editor. Underneath your post, you will see “Yoast SEO” plugin tab (1) with “Google preview” (2) which shows how your post will be displayed in search results in Google Search on mobile or computer device(3).
- Click on “Edit snippet”.

- Snippet editor will open.

- Simply replace the post name in the “Slug” box with your desired post name.

- Finally, click on “Update” in the upper right corner of the page.

Optional permalinks structures (not recommended)
- “Plain” – your URLs will only contain the number that refers to the ID of the table row in the wp_posts table of your WordPress database.

- Your URL will look like this (of course “gandahaar92twitch” will be replaced with your domain name):

- “Day and name” – your URLs will contain the post name with a date of publishing.

- Your URLs will look like this:

- “Month and name” – your URLs will contain the post name with a month and year of publishing.

- Your URLs will look like this:

- “Numeric” – Your URLs will contain “/archives/postnumber” in them – it will basically cover your post number in archives of your website – potential site visitors won’t be able to determine post title or any date from your URLs alone.

- Your URLs will look like this:

- “Custom Structure” – this is a more advanced option. It allows you to precisely decide which tags should be in your URLs.

- Below that option, you will find a list of “Available tags”.

- You can simply compose your desired permalinks structure by clicking the “tags”. WordPress will automatically add them to the “Custom Structure” box in the same order you click on them.

- After you choose permalink structure you have to click on “Save Changes”.
Now when your permalinks are SEO-friendly you can proudly share them with potential visitors and any future audience can be attracted with pretty looking URLs.