| 🎯 What’s the goal? To successfully enable a backup solution for your Wordpress Website and allow you to always restore your website from it. | ⚠️ Why does it matter? Critical issues can arise either through a mistake by your web hosting company, a faulty plugin or theme, a corrupted upgrade and many more (hacking). Having a solution that allows you to recover your hard work and get your website up & running from a backup in less than an hour is critical. |
| 🏁 What’s the result? Your WordPress creates backups of your website to selected cloud services, on a regular basis, and you are able to restore your website from those files. | ⌚ When do you do this? A backup solution should be installed as soon as possible. Restoring from a backup should only be used if necessary as the process may cause data loss itself. |
| ✅ Any special requirements? This SOP only works for WordPress websites. | 🙋♂️Who should do it? The person responsible for managing your website. |
👉 Where this is done: IIn your WordPress Admin panel.
⏳ How long will this take? 20 - 45 minutes
Now let’s secure and store files of your website
Environment setup
- Make sure you use Google Chrome browser to navigate the web,
- Access to your Wordpress Admin Panel.
Installing UpdraftPlus WordPress Plugin
- “Log In” to your Wordpress Admin Panel.
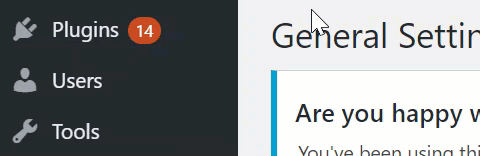
- On the left-side menu navigate to “Plugins”, then click on “Add New”.
- Type in “Updraft” in the Search Box.

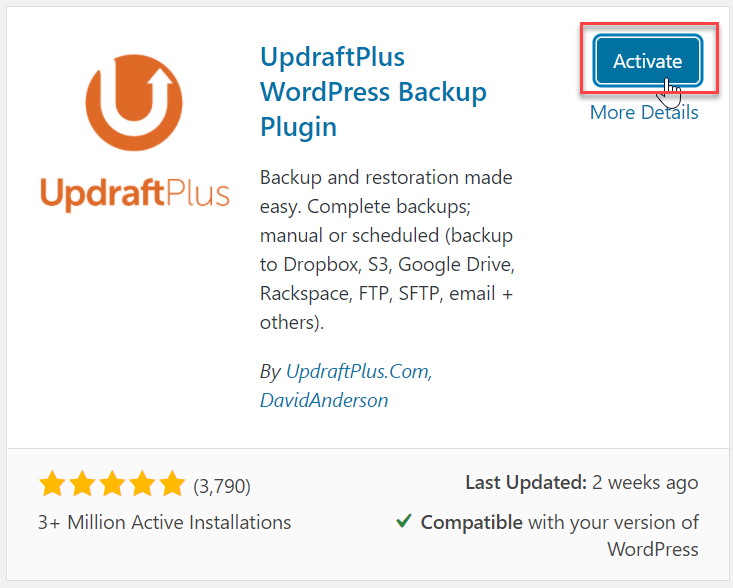
- In the search results, you should find UpdraftPlus Wordpress Backup Plugin by UpdraftPlus.com and DavidAnderson

- Click on “Install Now”.

- Then, on “Activate”.
Configuring UpdraftPlus Wordpress Plugin storage
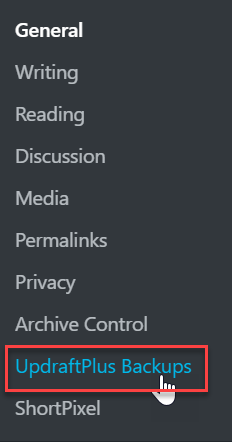
- Once you log in to your Wordpress Admin Panel,
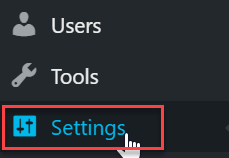
click on “Settings” on the left side menu.

- From there navigate to “UpdraftPlus Backups”.

- Choose the “Settings” tab.

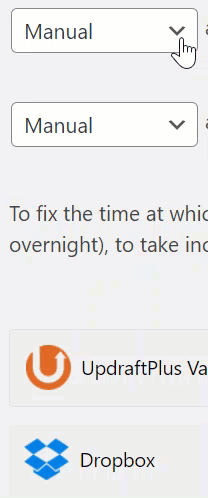
- The first option you can adjust to your preferences is “Files backup schedule”.

Your files do not include your website content, it only includes files and folders on your server (e.g: Your plugin files, your theme files, your uploaded images, etc)
- You can set if you want the backup to take place in predefined time intervals ( e.g: if you set this option to “Daily”, your site Files backup will be performed automatically every day) or you can leave it to “Manual” so you will have to do it manually.

- Then there is an option that allows you to set how many backup files you want to store at one time (e.g: if you set this to “3”, every 4th backup will overwrite the oldest one).

- The second option that you can adjust is “Database backup schedule”.

Your database does not include your entire WordPress website, instead, it will include, for instance, your Blog Posts, Pages, Comments and some settings.
- For this option, you can adjust the same parameters as the previous one.

- Finally, you should choose your “Remote Storage” for your backup files.

You can choose more than one storage. For this SOP we will choose “Google Drive”.
- Select the desired storage option by clicking on it. In this case, this will be “Google Drive”.

- You can rename Google Drive folder that will be created for storing your backup files.
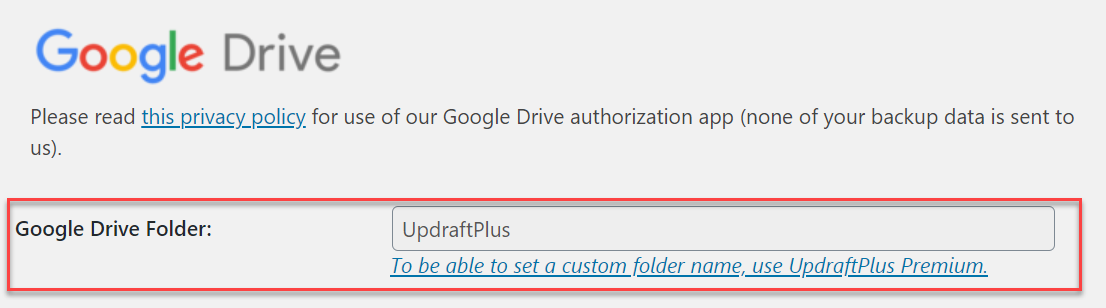
- Then scroll down and click on “Save Changes”.

- “Remote storage authentication” pop up window will appear. Click on the provided link.
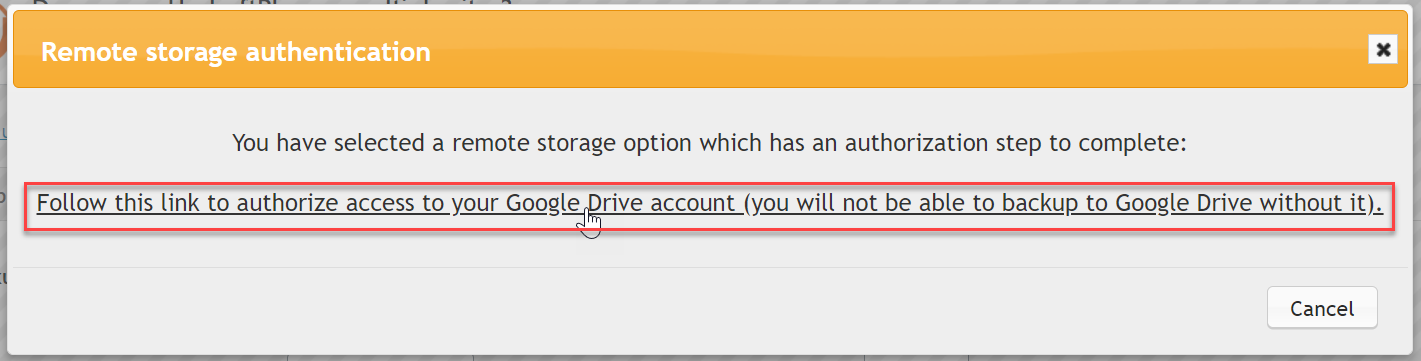
- Sign In with your storage provider account (In this case Google).

- Click on “Allow”.

- You will be redirected to the last step of verification. Simply click on “Complete Setup”.
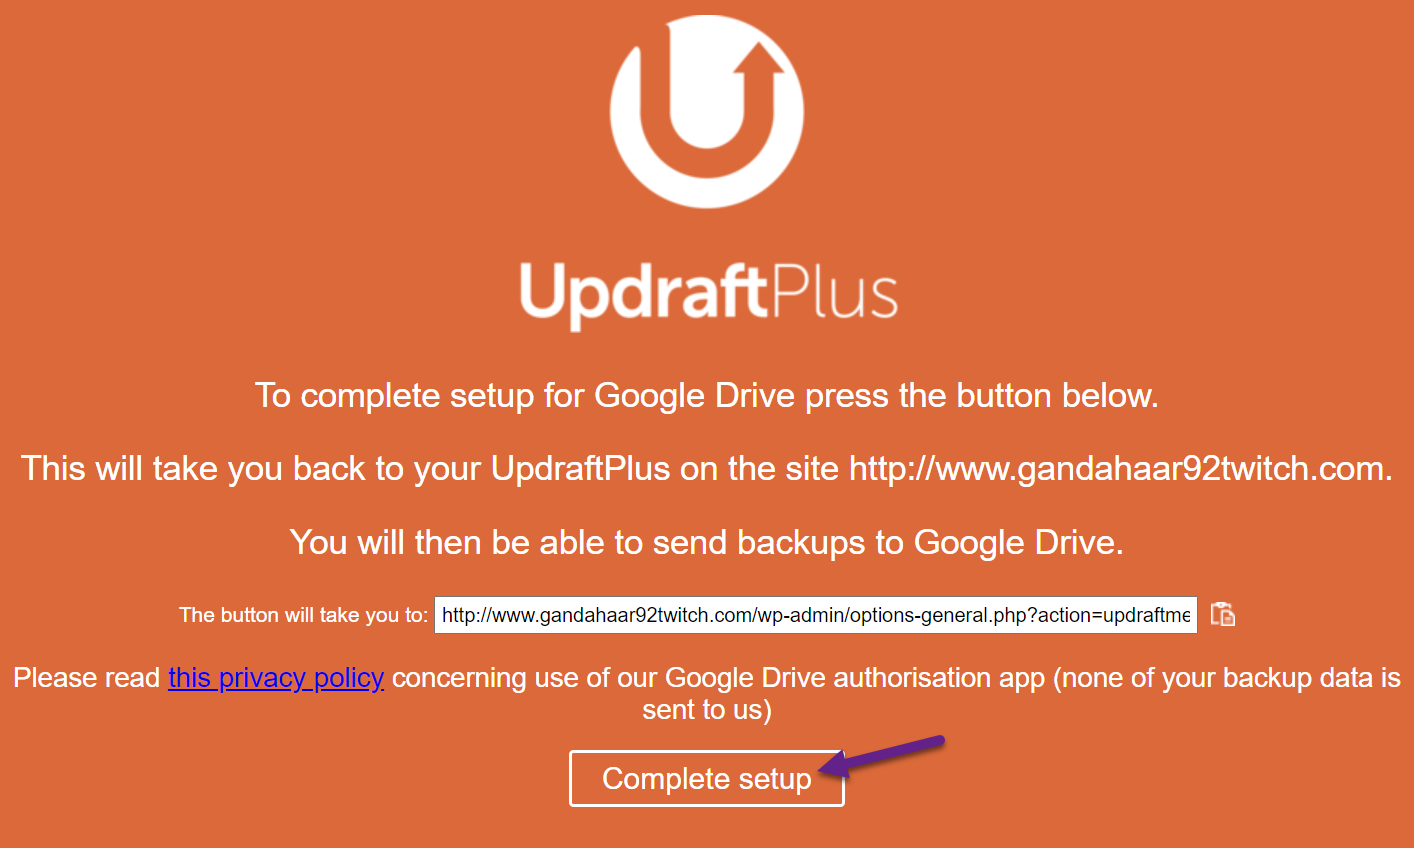
- You should see the “Success” notification.

Creating a backup file with UpdraftPlus Wordpress Plugin
- On the left side menu of your Wordpress Admin Panel choose “Settings”.

- Then click on “UpdraftPlus Backups”.
- Choose the “Backup / Restore” tab.

- Click on “Backup Now”.

- A pop-up window will appear. You should leave the first three options “selected”.
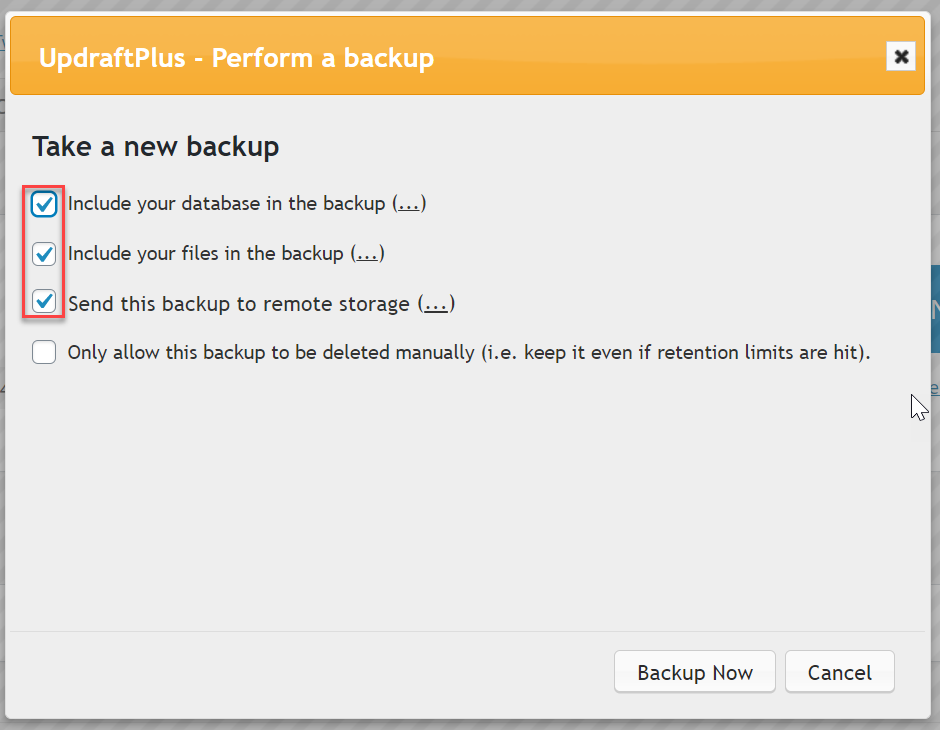
You can enable the last option if you want to allow this backup to be deleted ONLY manually (e.g: if you create “the main backup” as a last resort option).
- Then click on “Backup Now”.
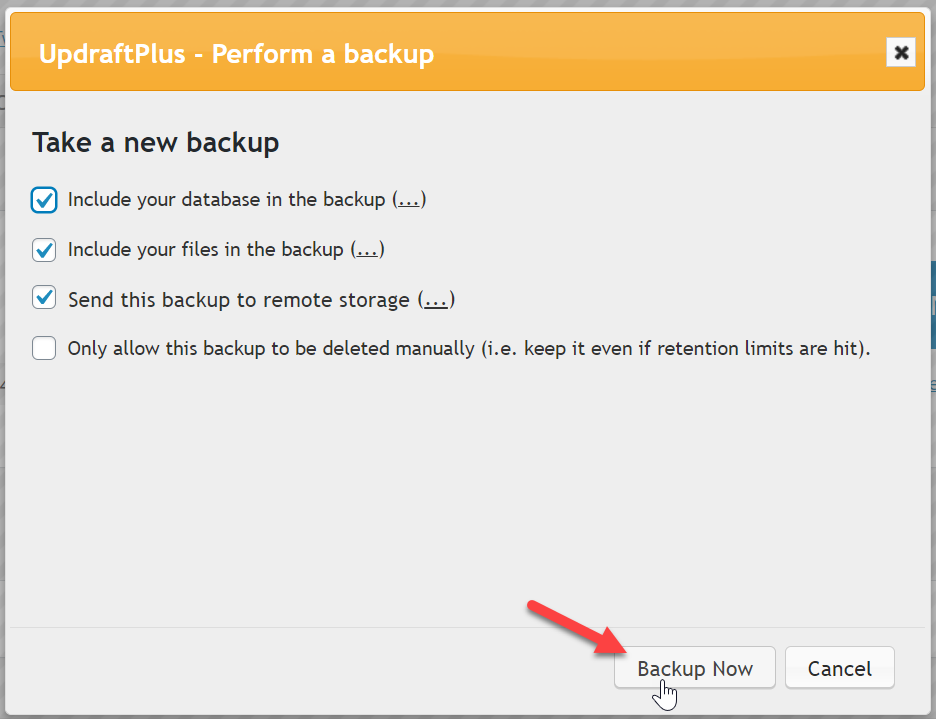
- Wait for the backup process to end.

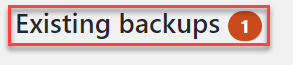
- Now your newly created backup should be visible on the “Existing backups” list. You can even download it directly from here (“click to download”).

You can always download your backup files directly from selected cloud storage.
Restoring your Wordpress site from the backup file
- Once you log in to your Wordpress Admin Panel, click on “Settings” on the left side menu.
- Click on “UpdraftPlus Backups”.

- Choose the “Backup / Restore” tab.

- Scroll down to “Existing backups” list.
- Find the backup file you want to use and click on “Restore” next to it.

- Now choose the components to restore on your site.
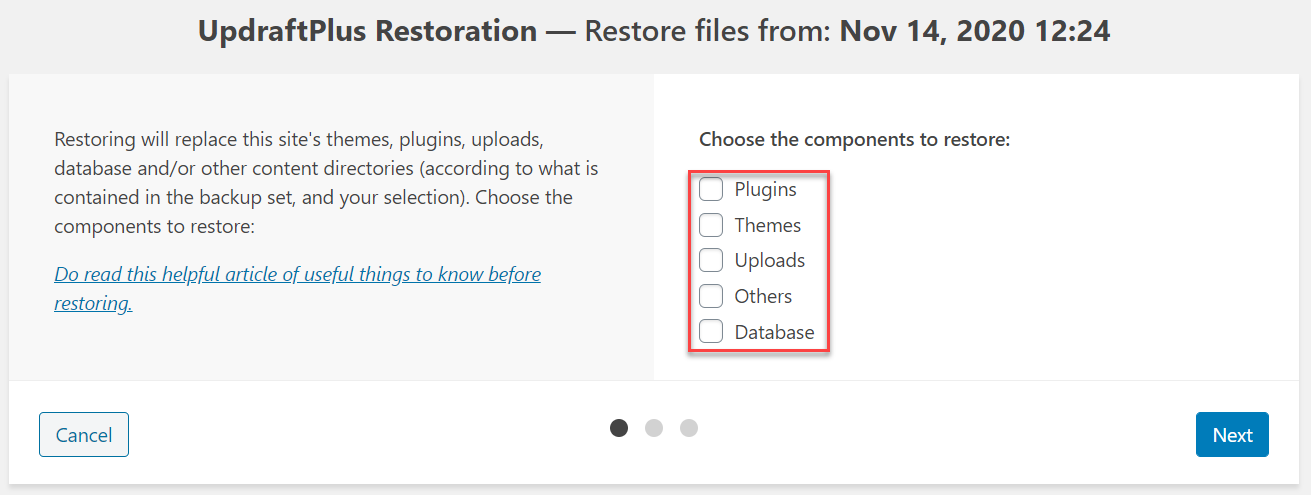
- For example, if you want to restore your “Database”, select it.
You can choose multiple components.

- Click on “Next”.
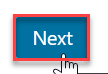
- Your backup file will be downloaded.
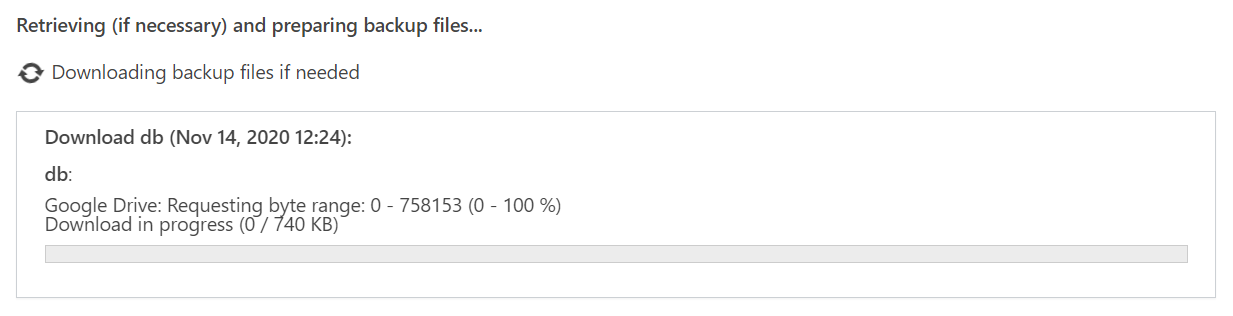
- After downloading, click on “Restore”.
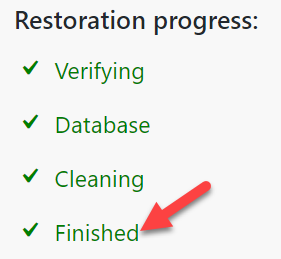
- Wait till the end of the restoration process.

- Once “Finished” your site should be restored!
There you have it! Now if something goes wrong with your website you can always try to restore it to the previous state. Trying new features is always easier when you don’t have to worry about losing your content.

Ready to Transform Your Productivity?
At Lil Assistance, we've perfected the art of virtual assistant partnerships. Our flexible team model means you get the right specialist for every task, managed by experienced project managers who ensure quality and consistency.
Get Started with Your VA Team